Google Analytics is a valuable ally in the ecommerce battle for consumer dollars. The insights it provides contains a wealth of information about your site, your visitors and where they came from. All this information can be used to find new customers and increase conversions.
For users who already have Google Analytics accounts:
Please refer directly to Step 7.
For users who are new to Google Analytics:
To get started with Google Analytics, you’ll first need a Google account. If you already have a google account, please proceed to Step 1. Otherwise, please create your Google account.
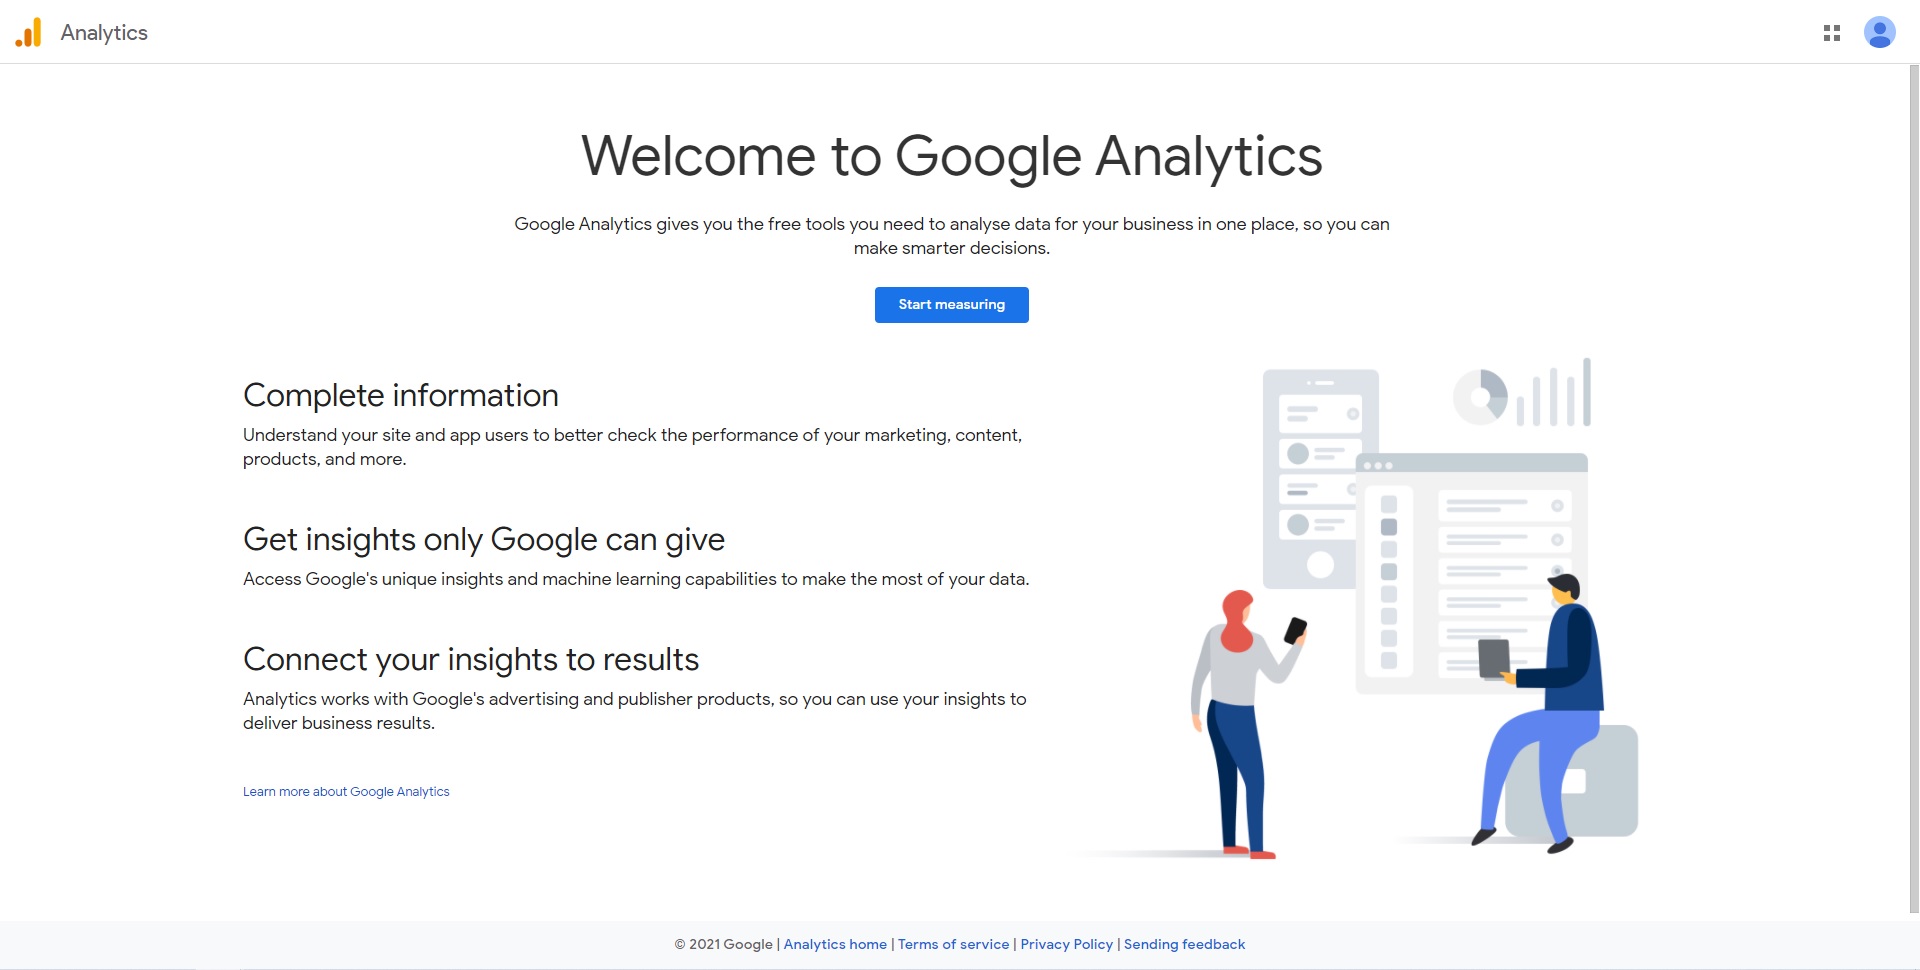
1. Go to Google Analytics, and click on the ‘Start measuring’ button
2. This new page will show, simply enter your Account name, and click Next after selecting the services you want Google to provide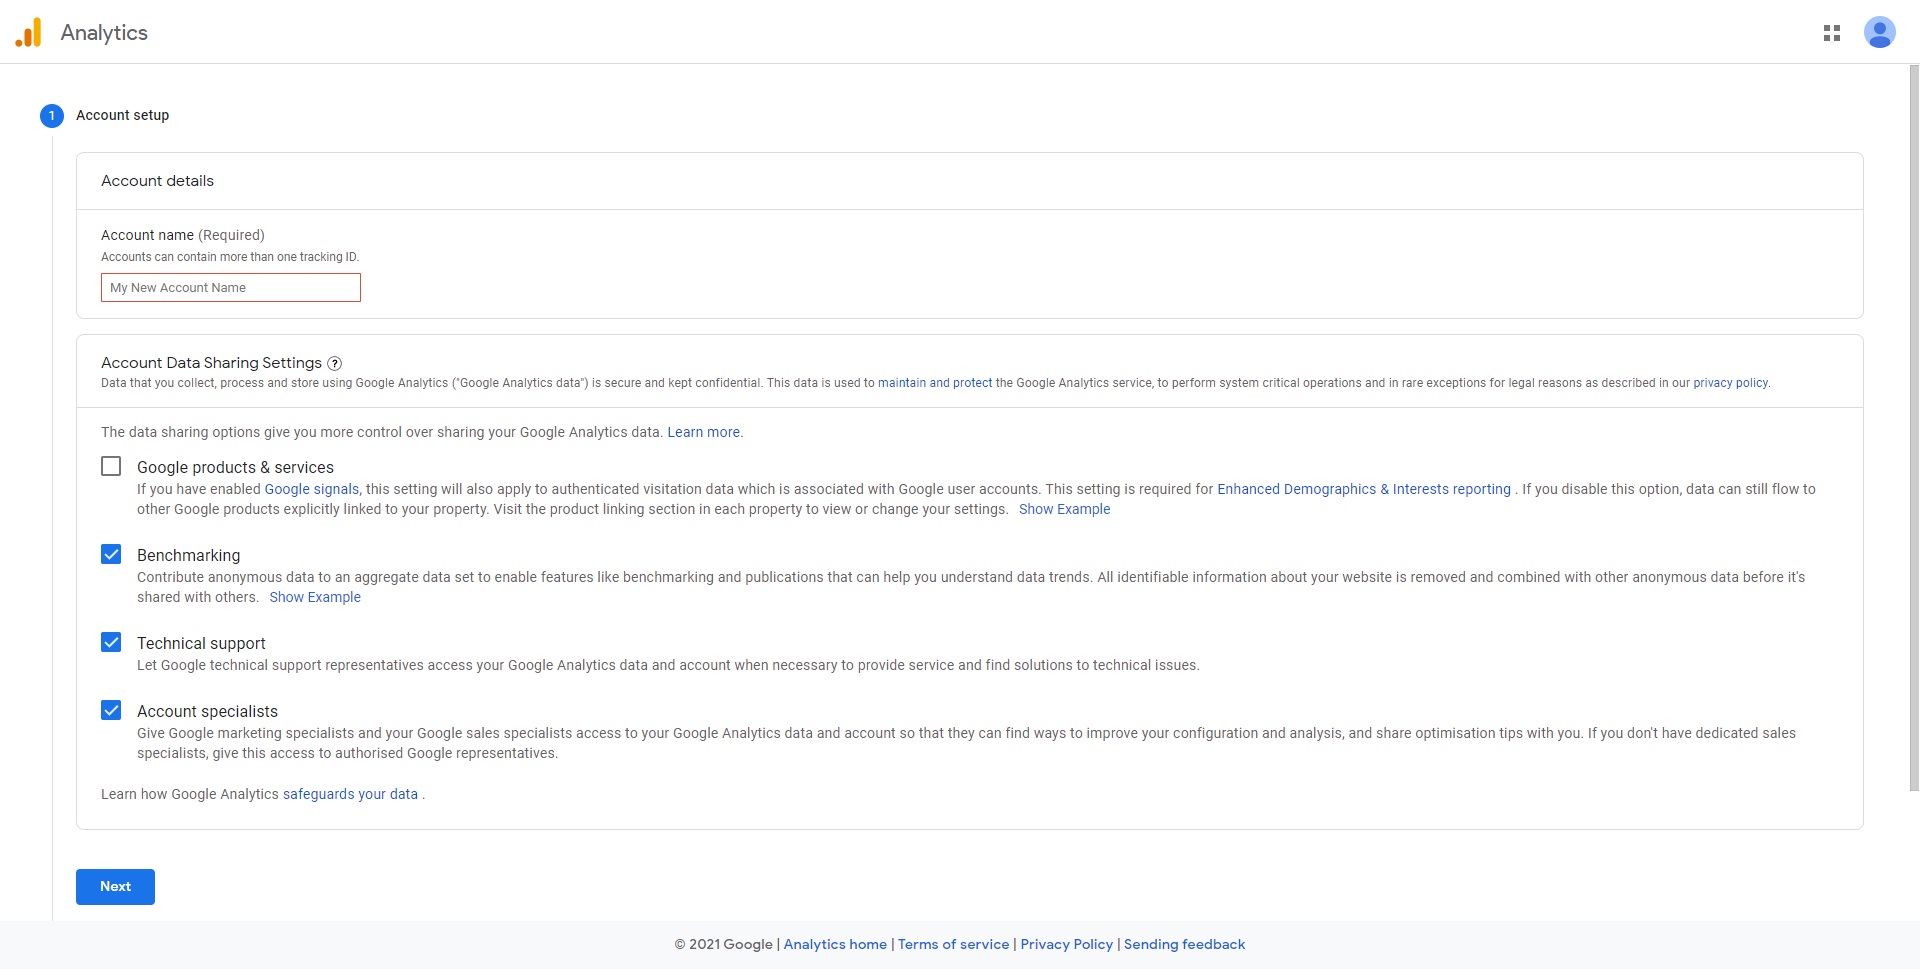
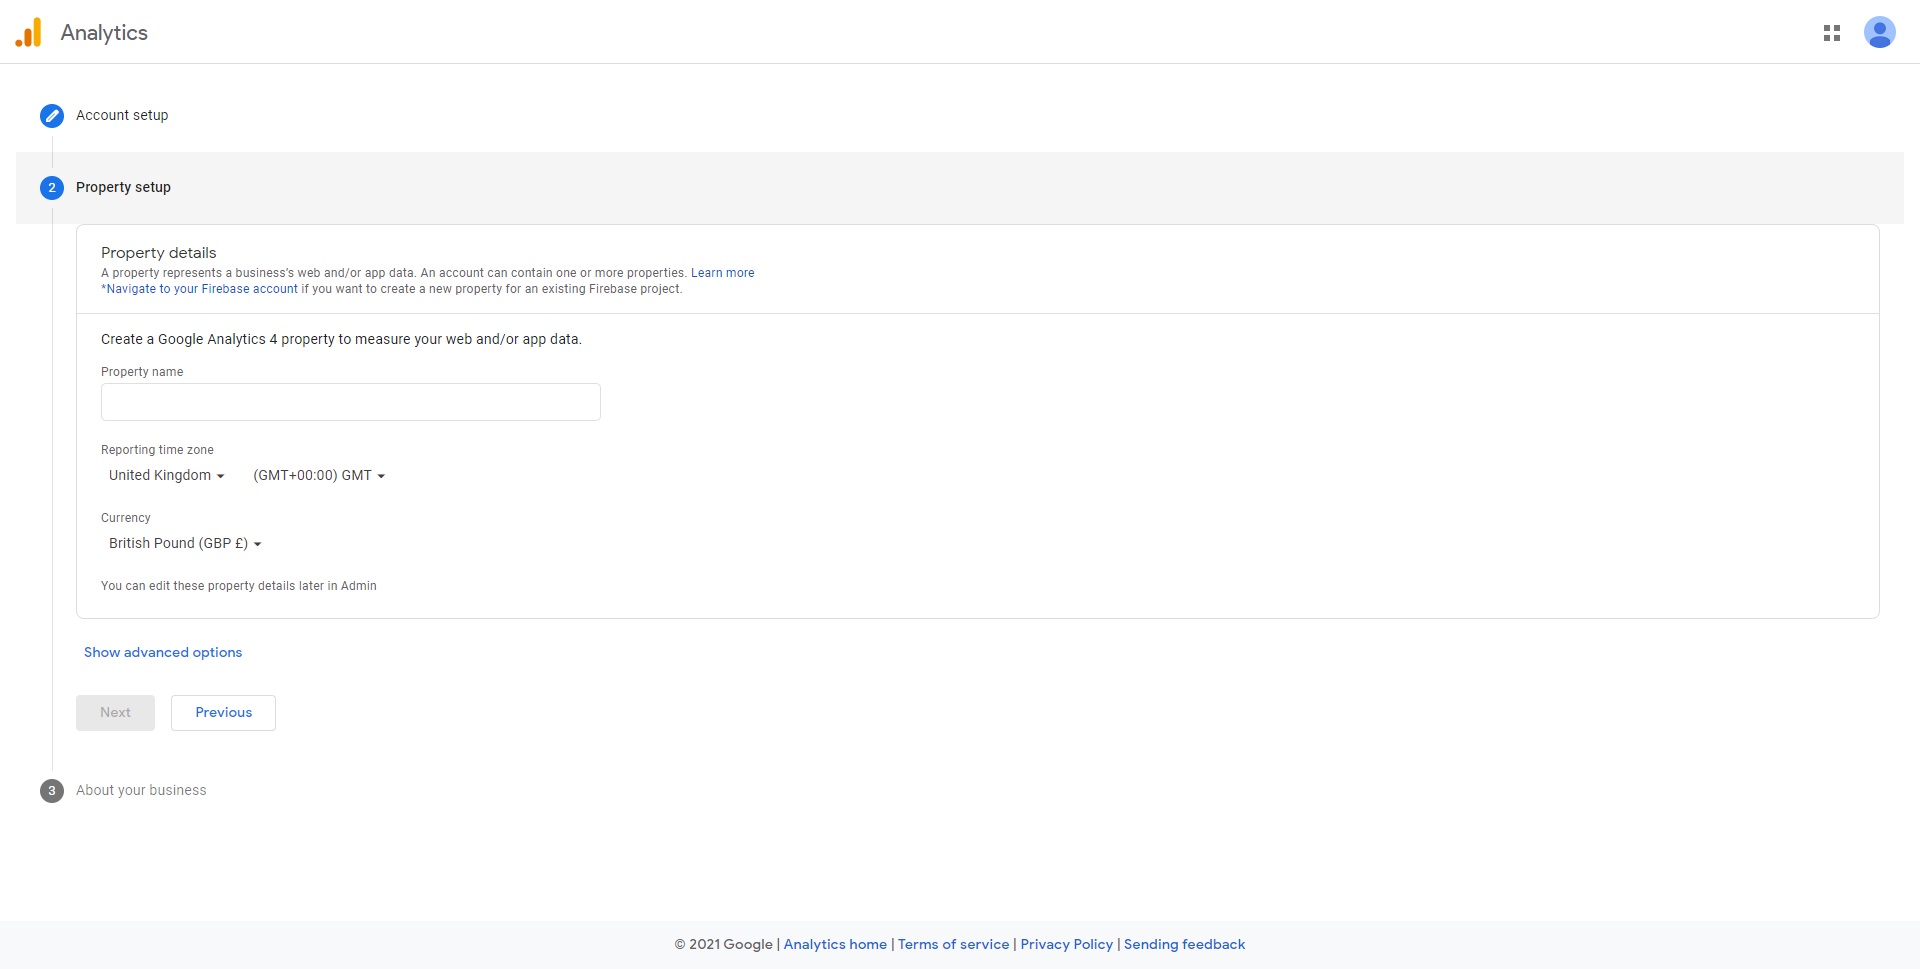
3. Next, enter your Property name, eg. your brand name, select your Country, Time zone and Currency. Click ‘Next’ when ready
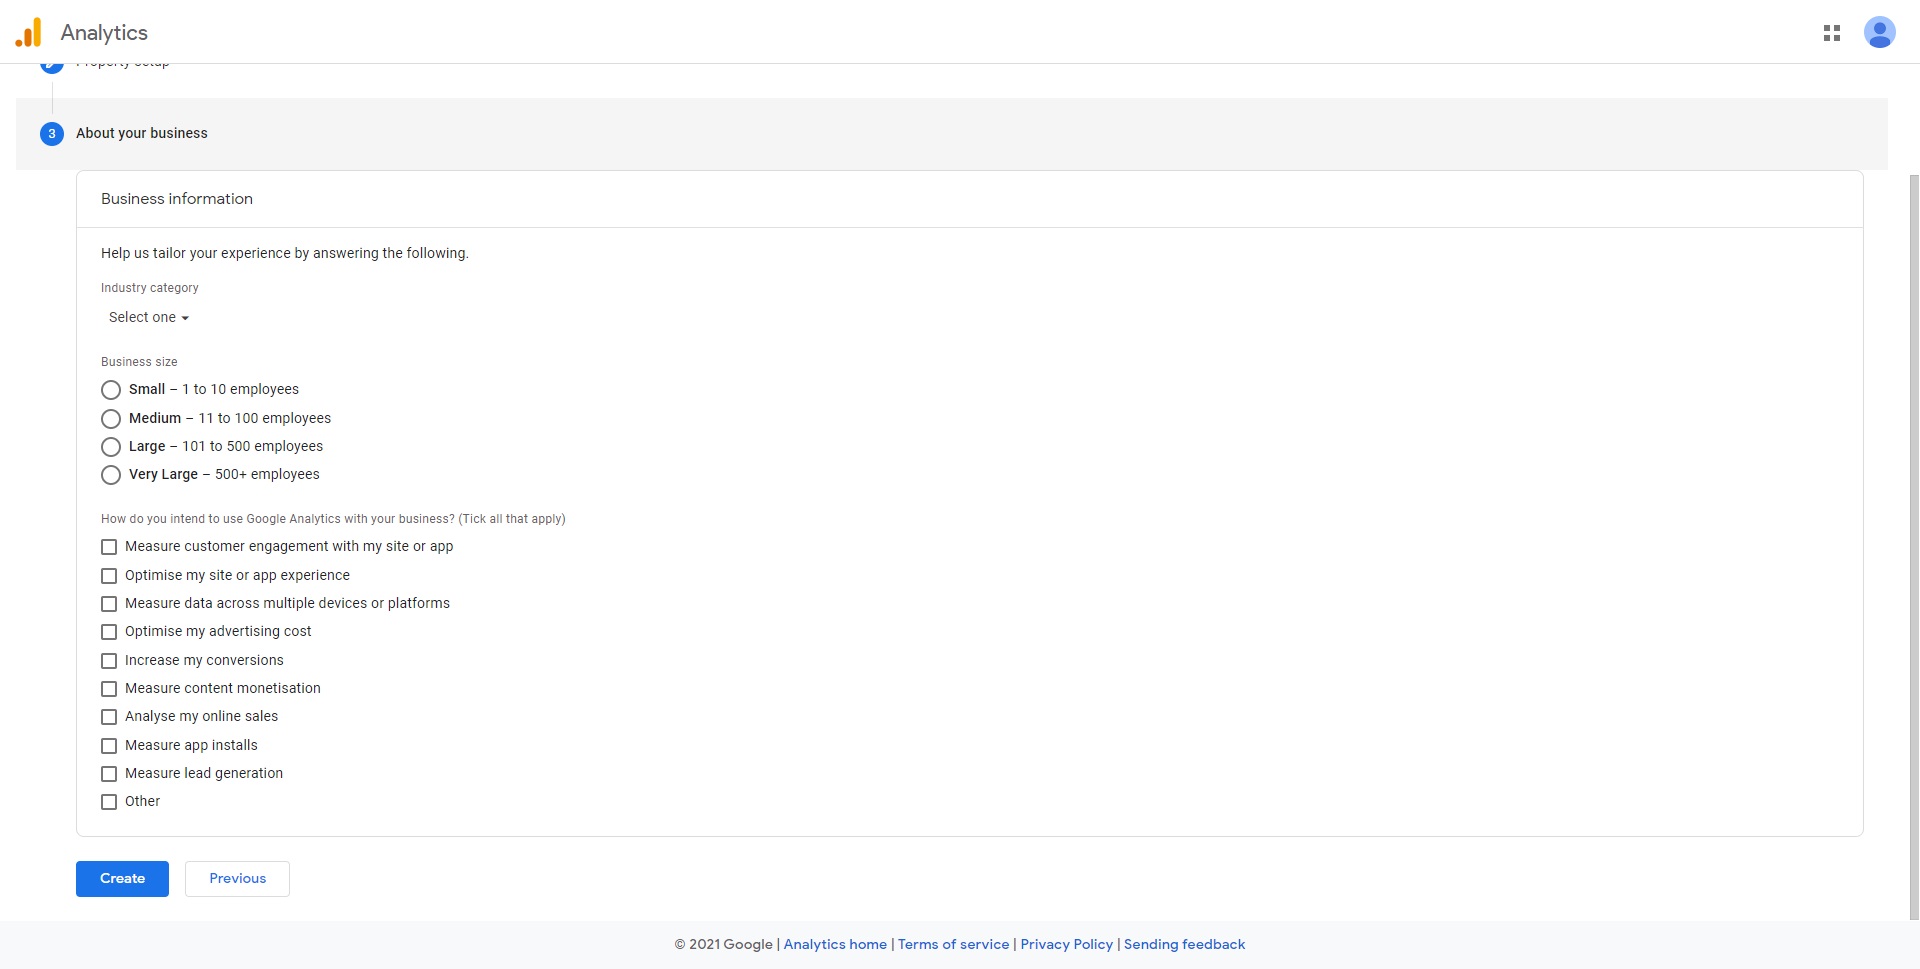
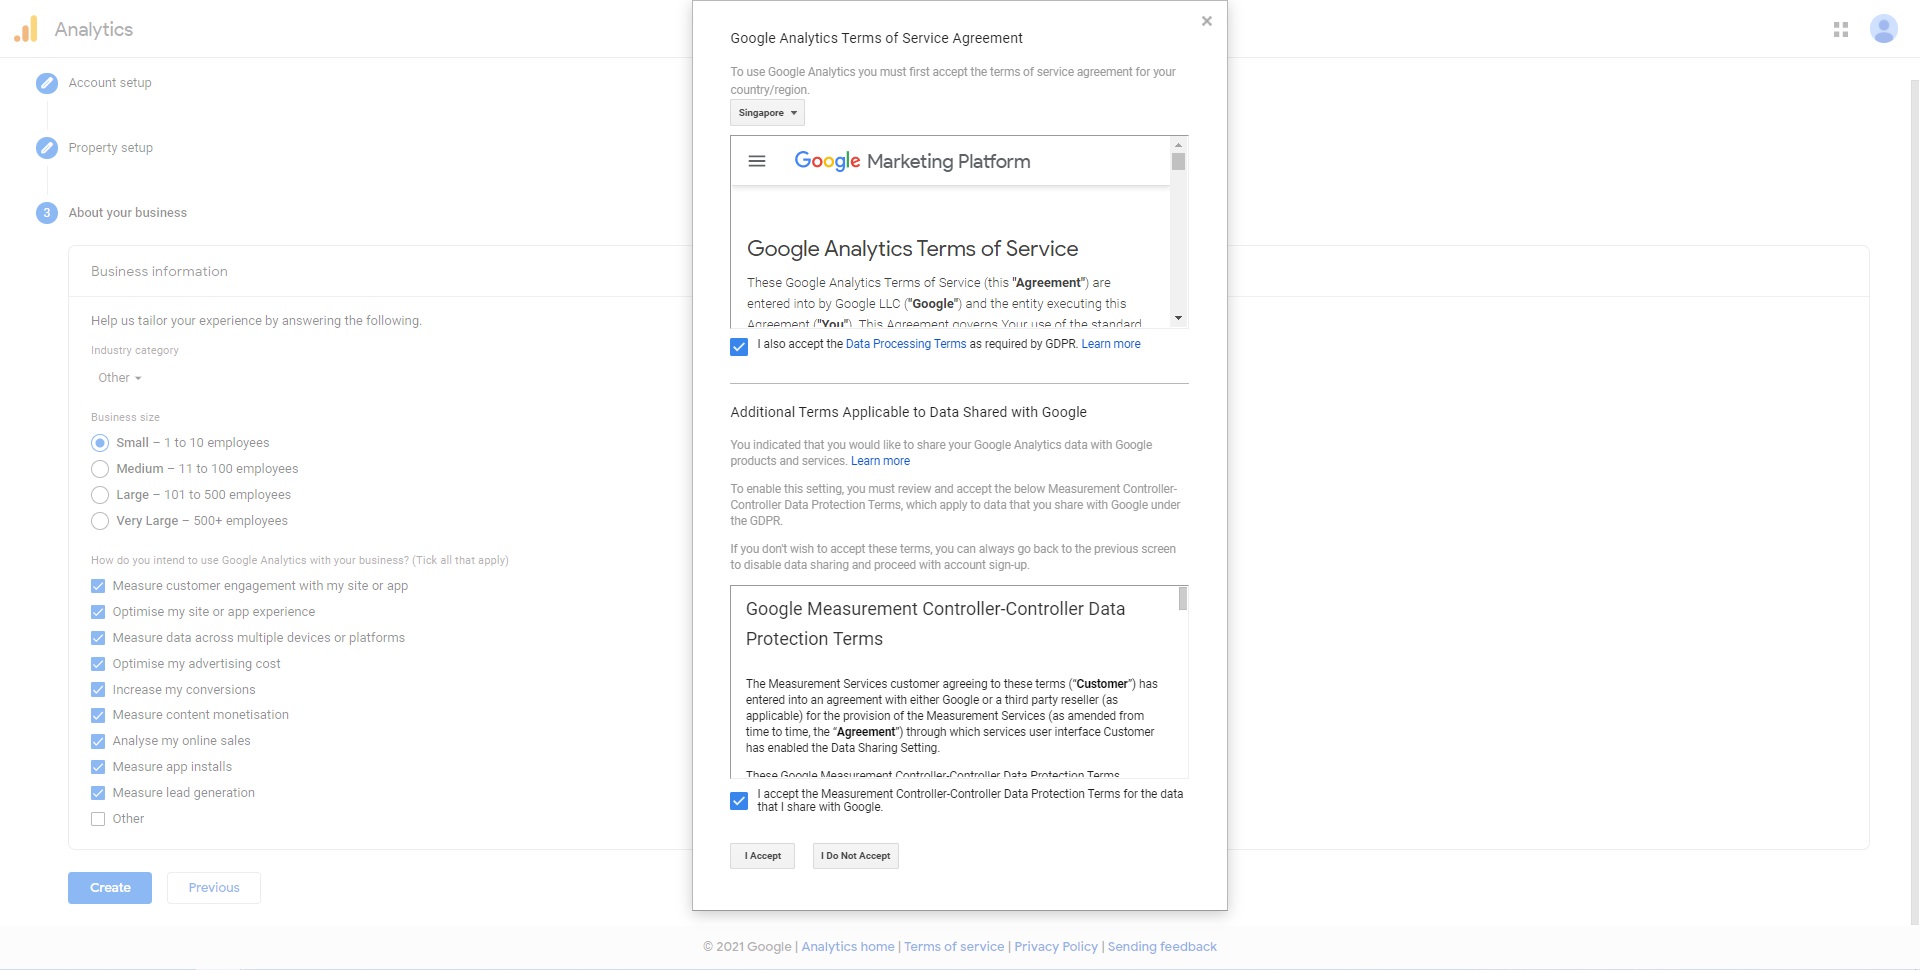
4. Next, fill up the Business information and click on ‘Create’
5. Next, a pop up window will appear where you will need to accept Google’s Terms of Service, when ready click on ‘I Accept’
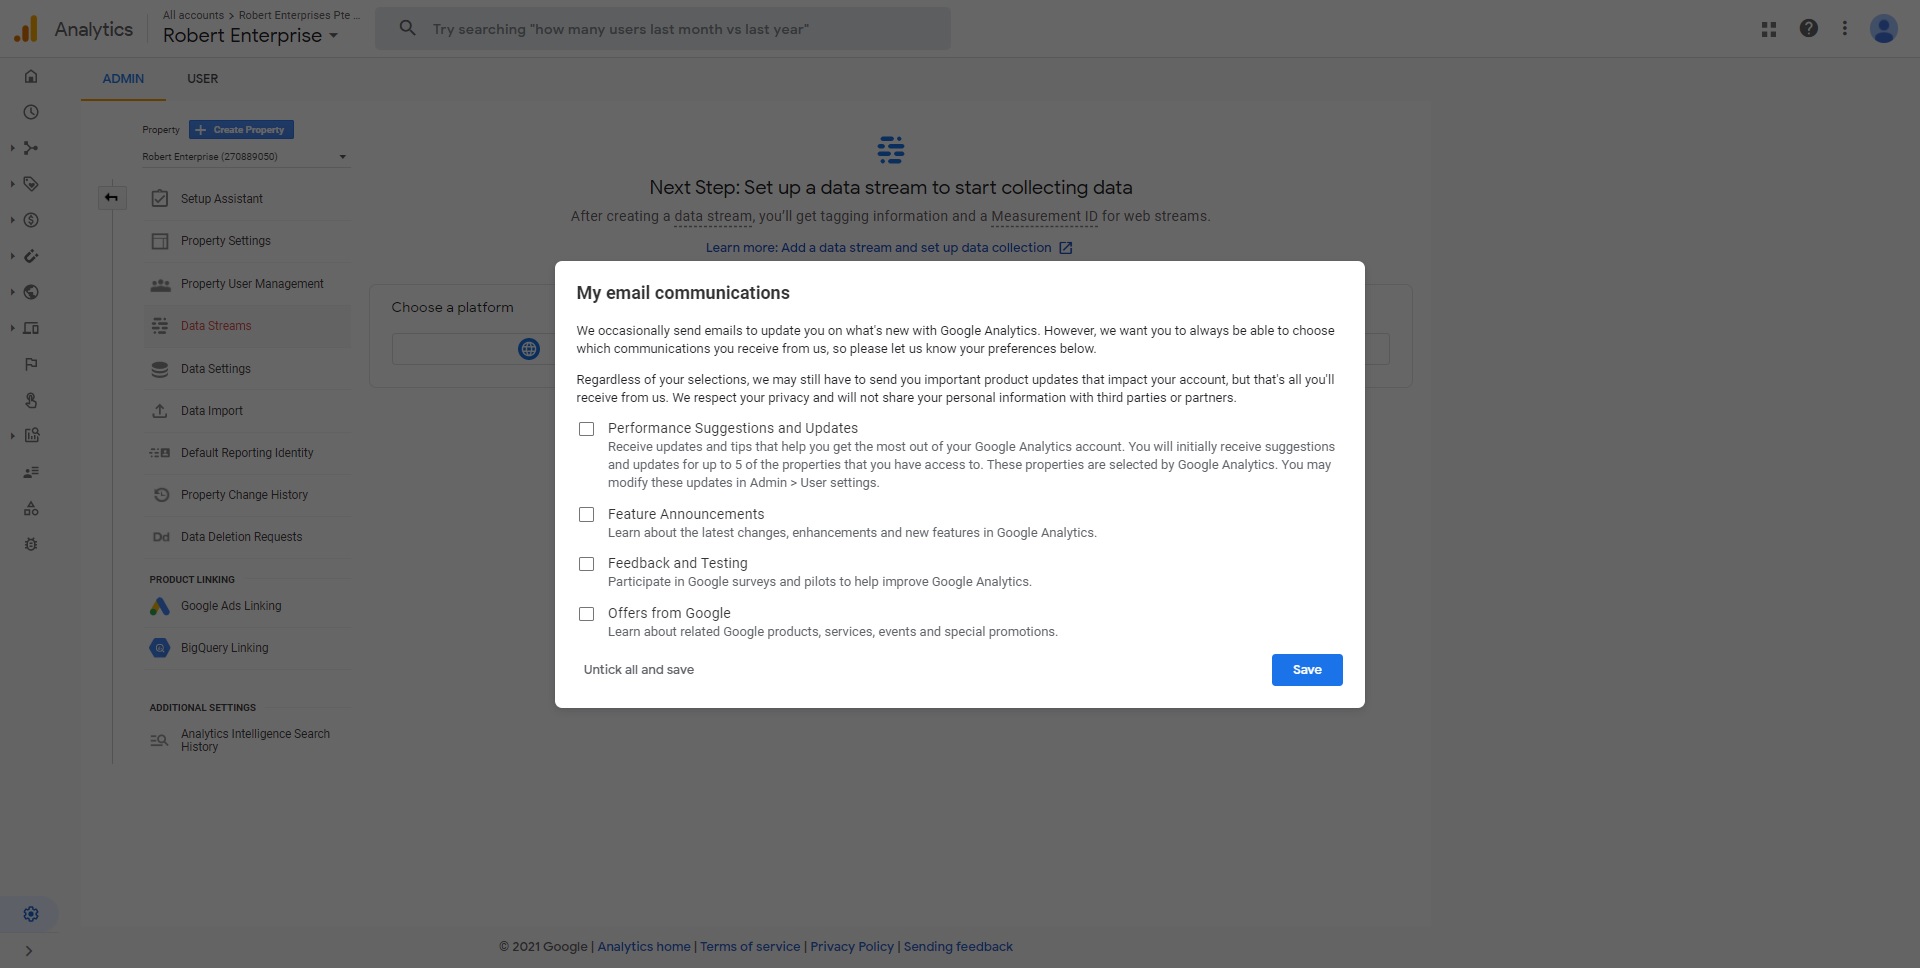
6. Done, your Google Analytics account is created, select what you want Google to communicate with you via email and click on ‘Save’
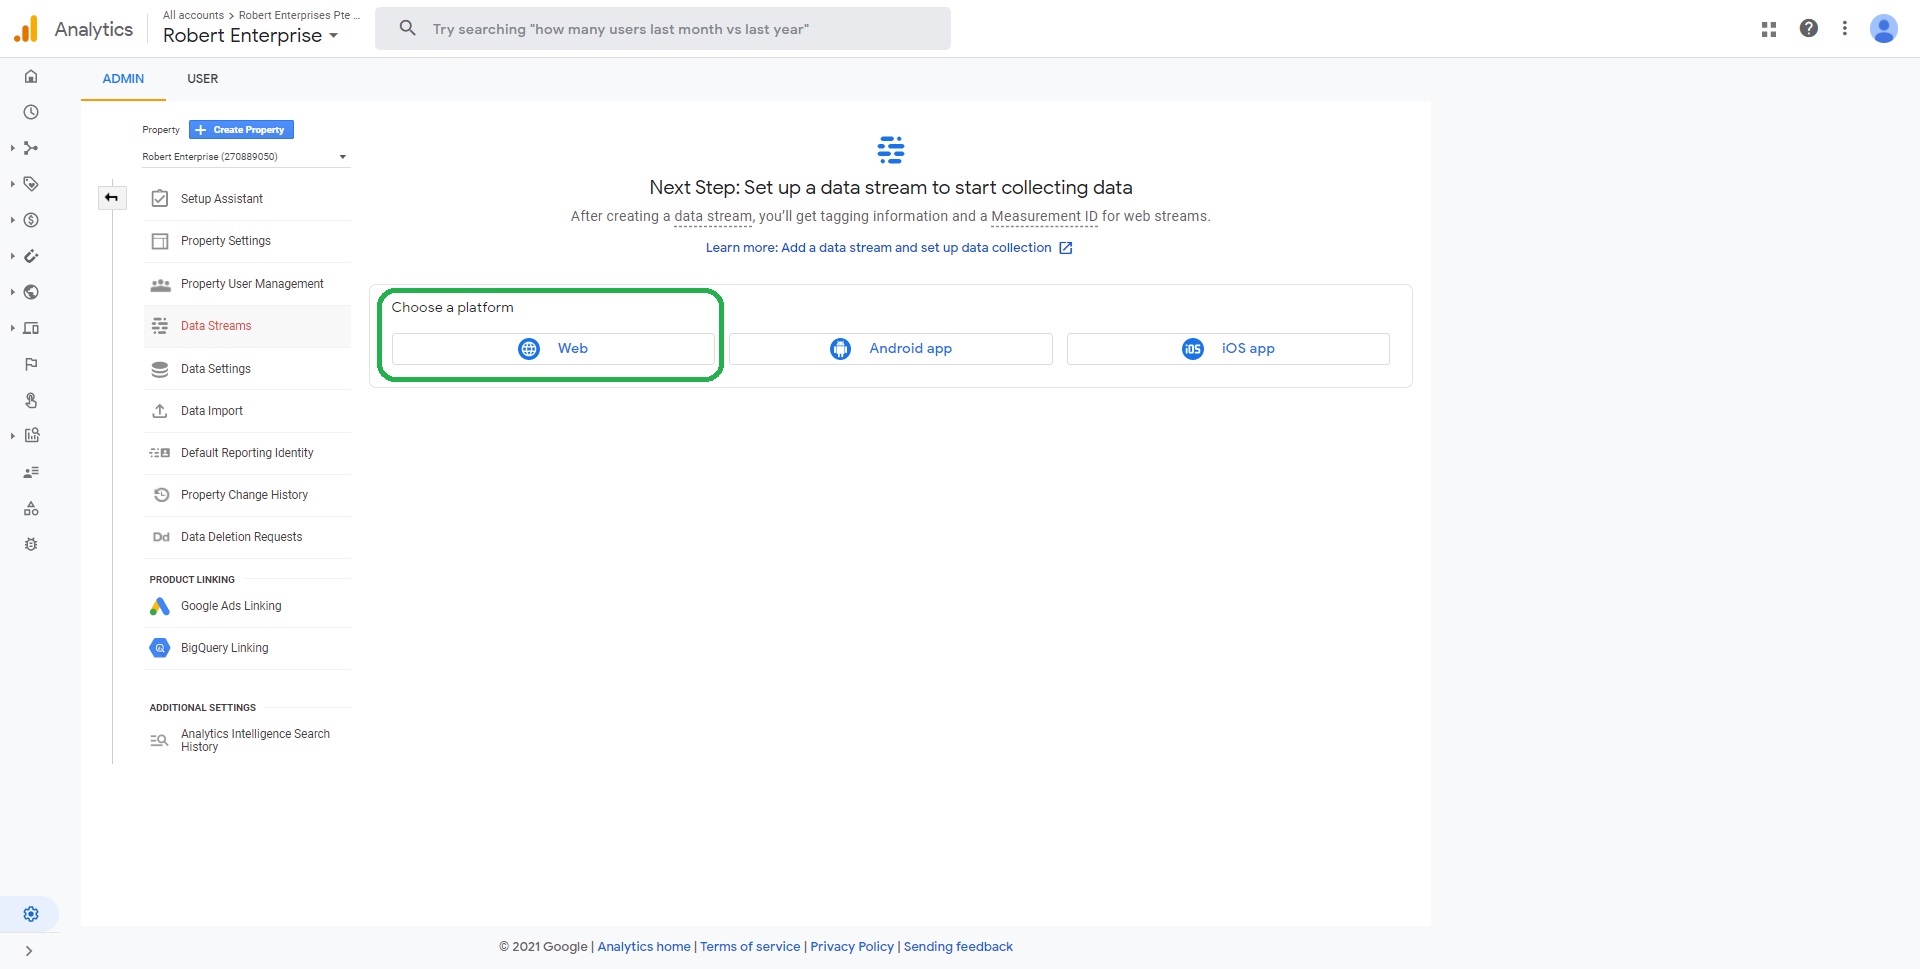
7. Now, let’s create a Stream in your Google Analytics account, click on ‘Web’
8. Now, enter your Website URL and give it a Stream name.
The Website URL can be either your Shopmatic Sub Domain (eg. mybrand.myshopmatic.com) or your own Custom Domain (eg. mybrand.com)
Click on ‘Create stream’ when ready.

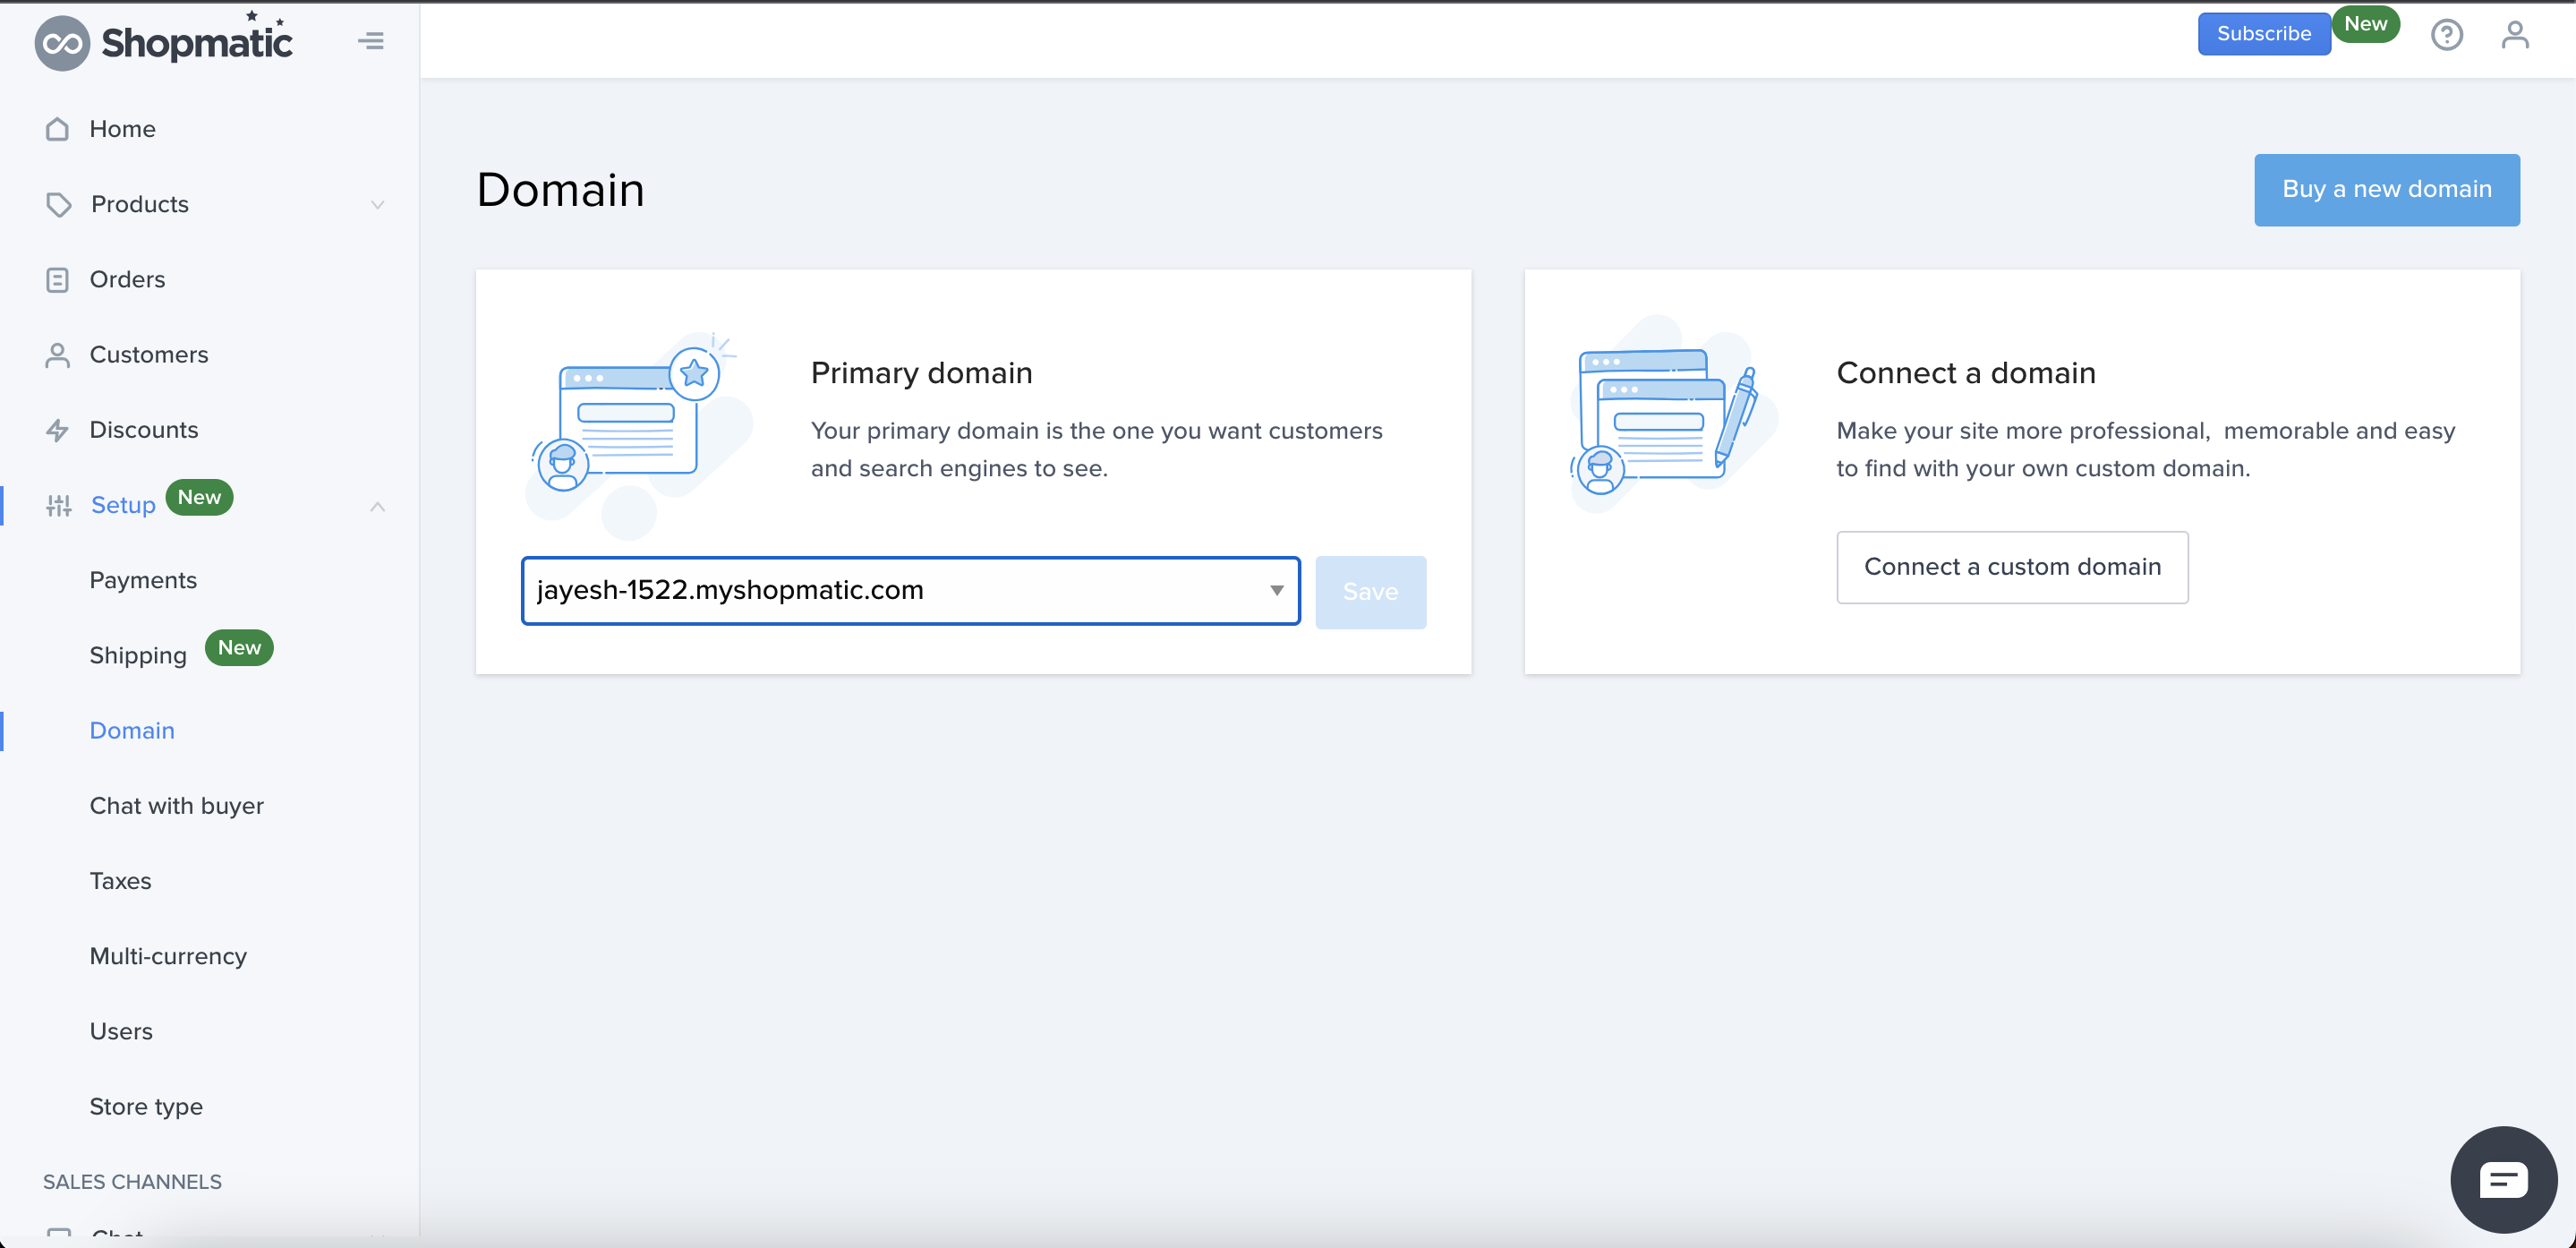
To find your Shopmatic Sub Domain, simply click on the main menu, then on Setup, and then on Domain. In the Primary domain section, you will be able to find your Shopmatic Sub Domain name (in this example, our subdomain is demo1.myshopmatic.com)
9. Done, your Stream has been created, now copy the ‘Measurement ID’ by simply clicking on the ‘Copy’ icon, and then go back to your Shopmatic account.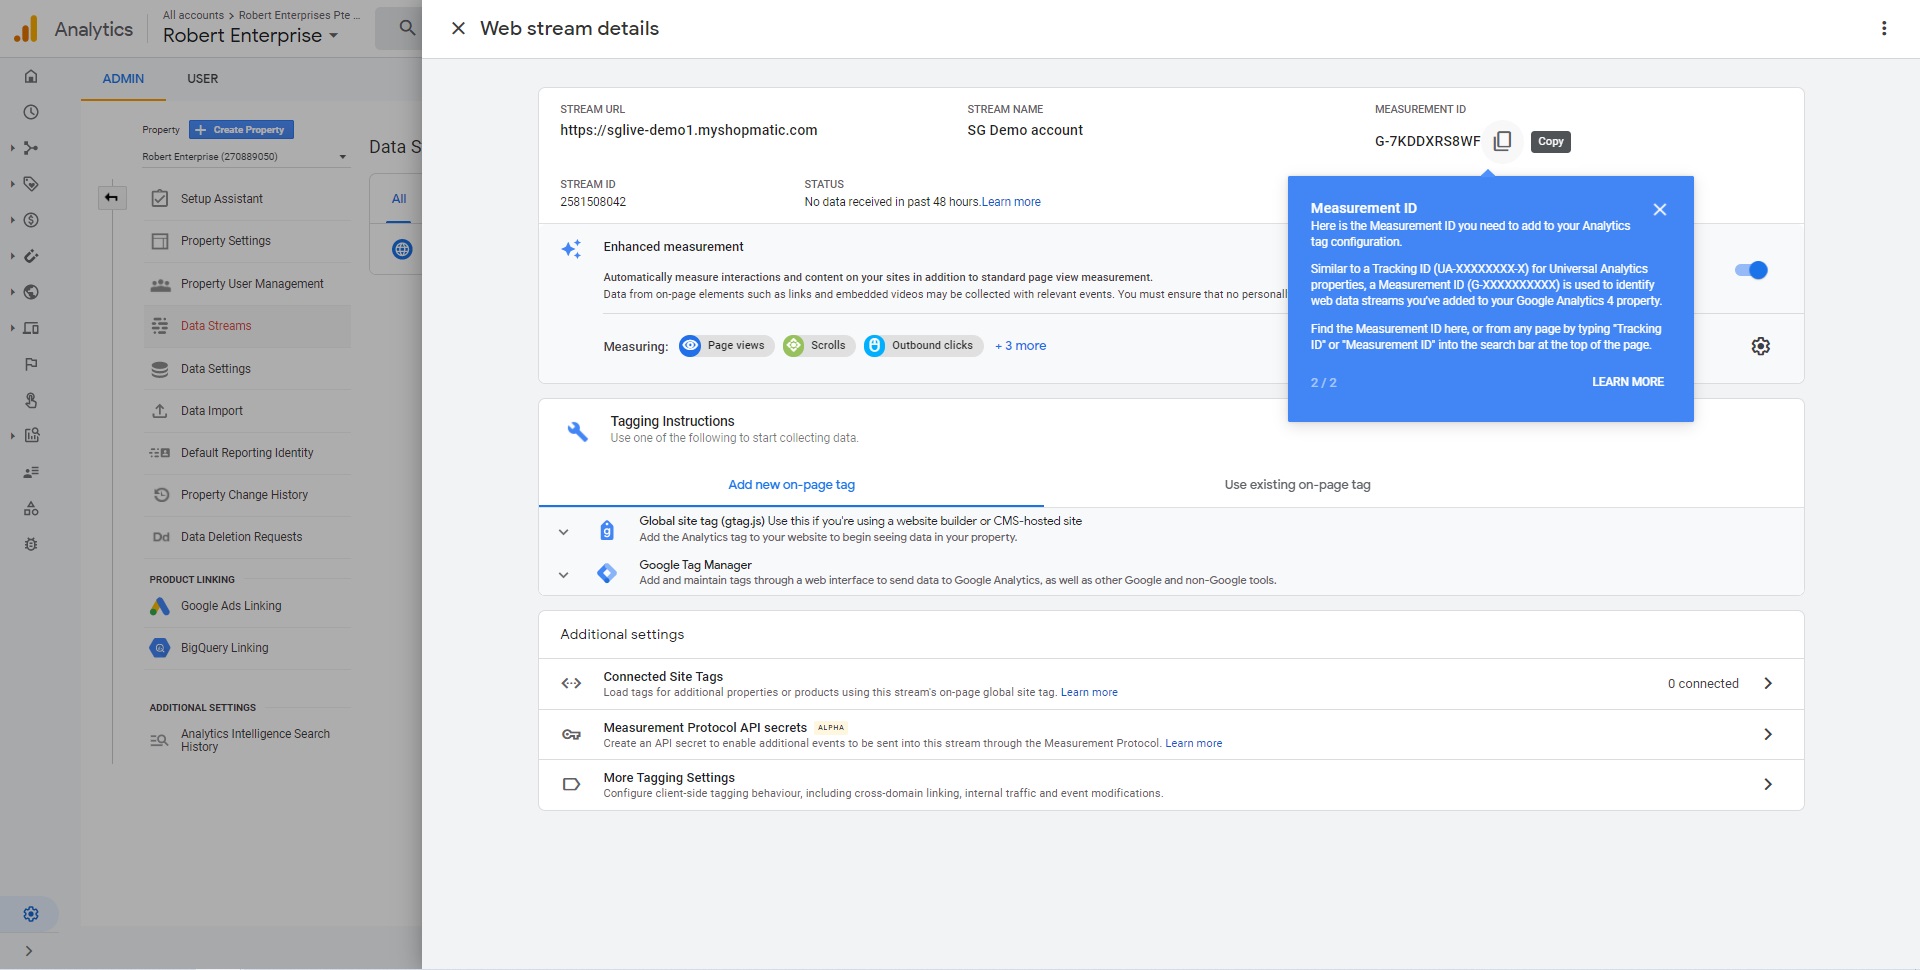
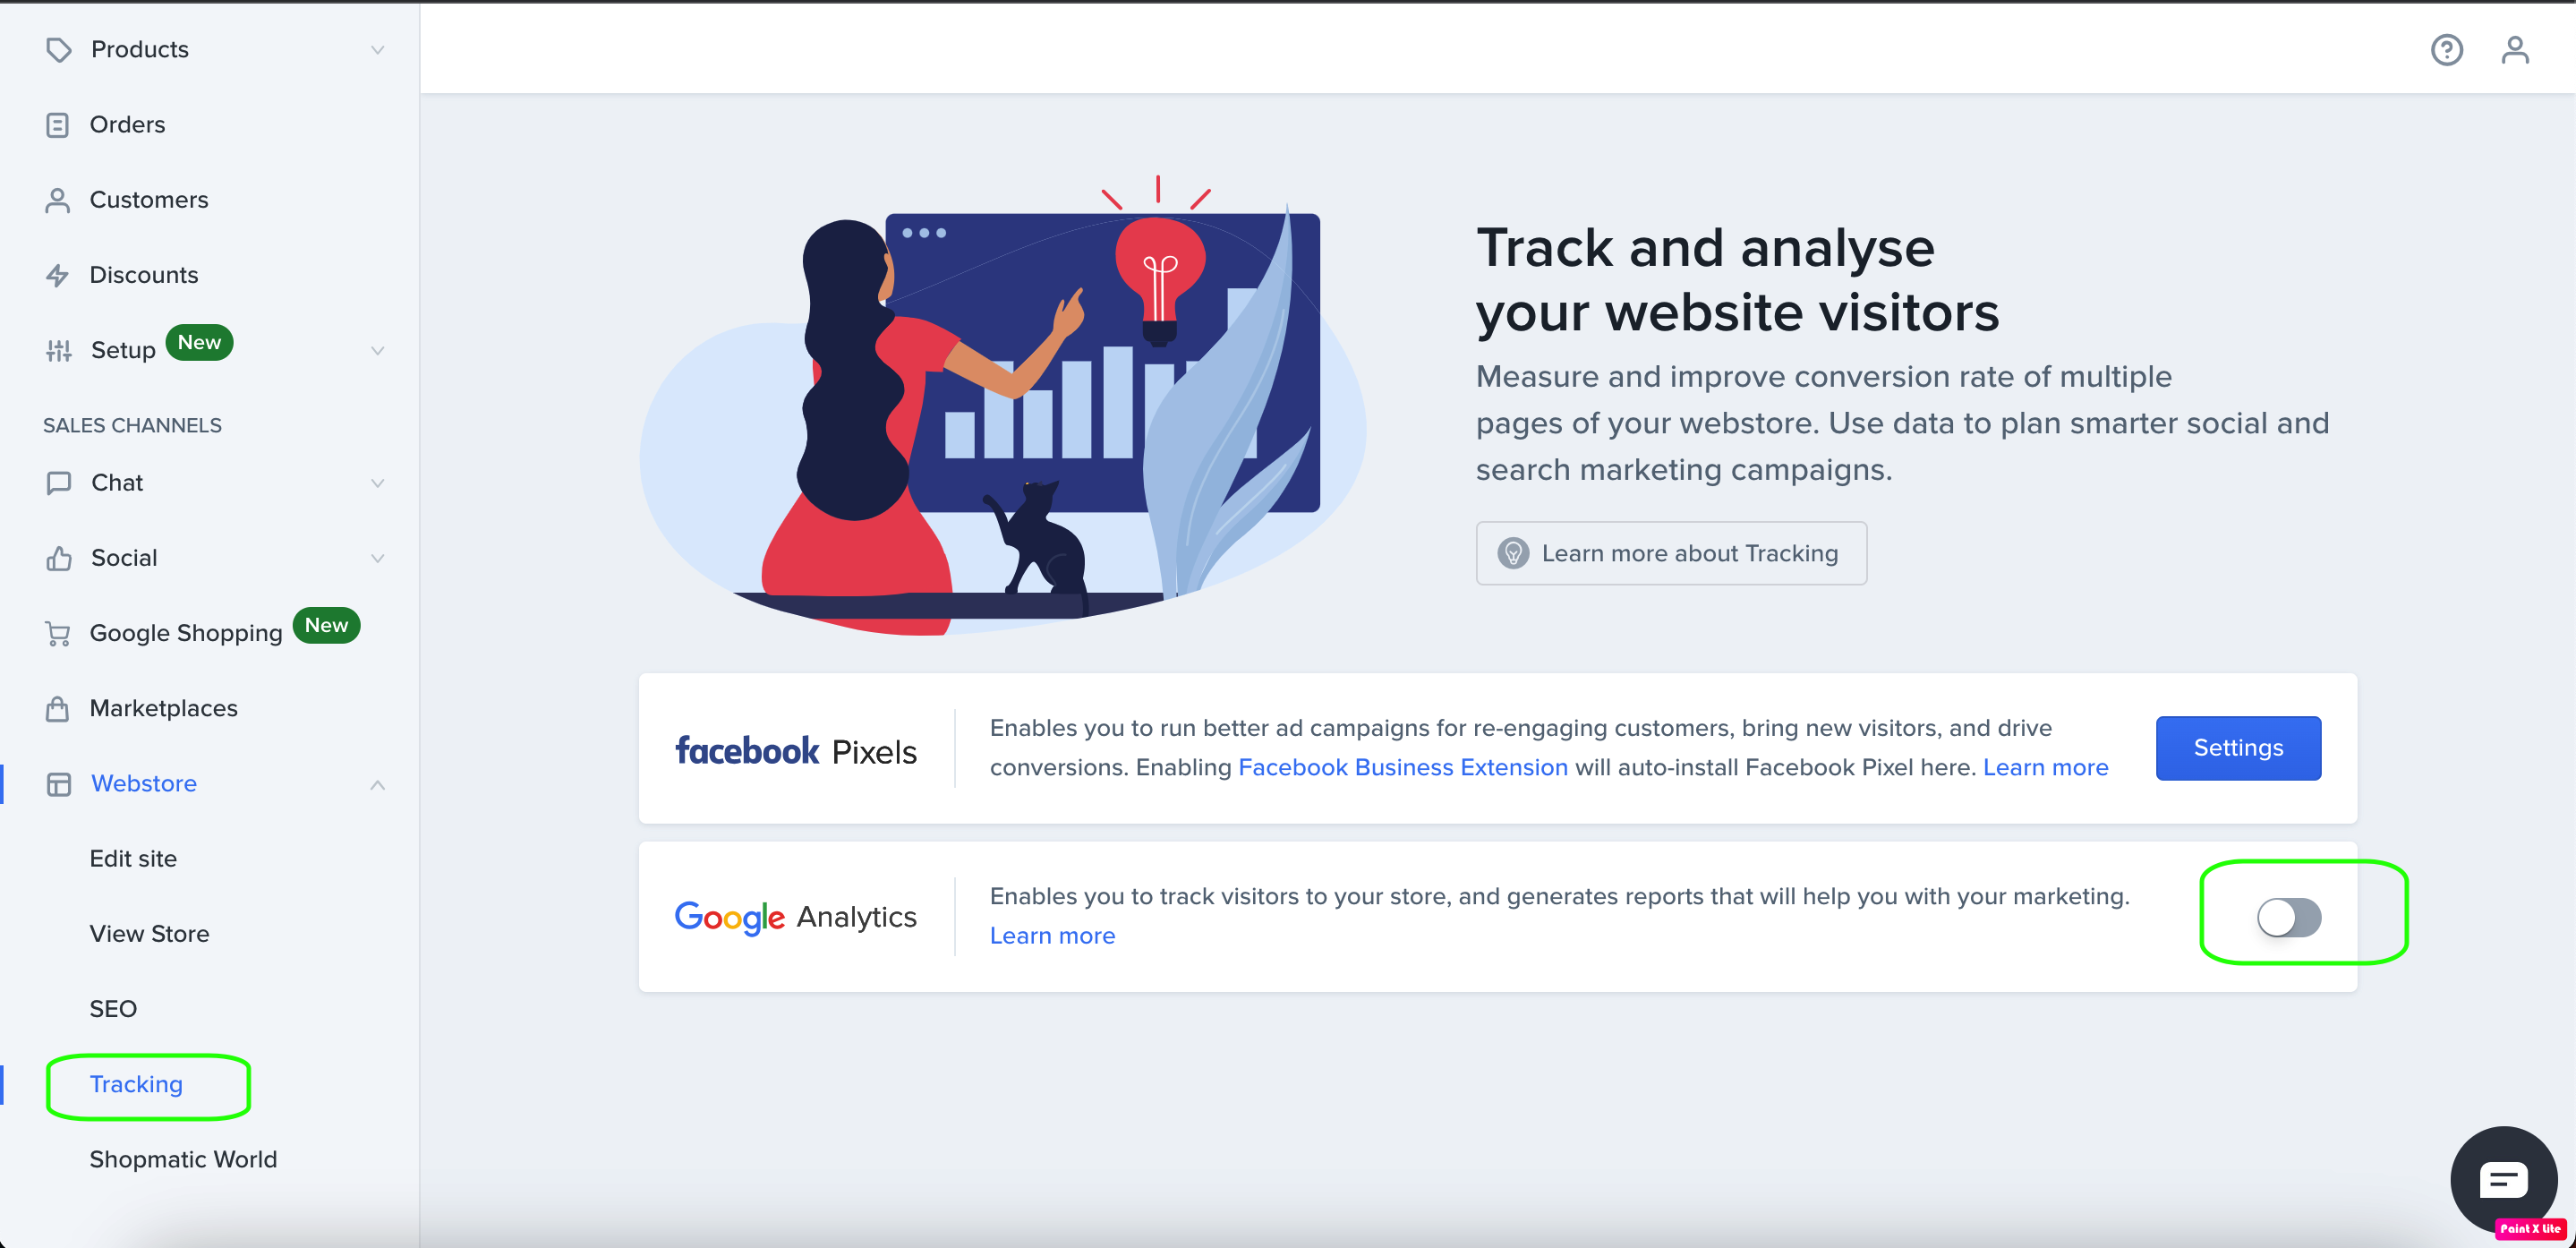
10. In your Shopmatic account, click on the Main menu, select Webstore, and then on Tracking, and you will come to this page, next, click on the toggle switch circled in green
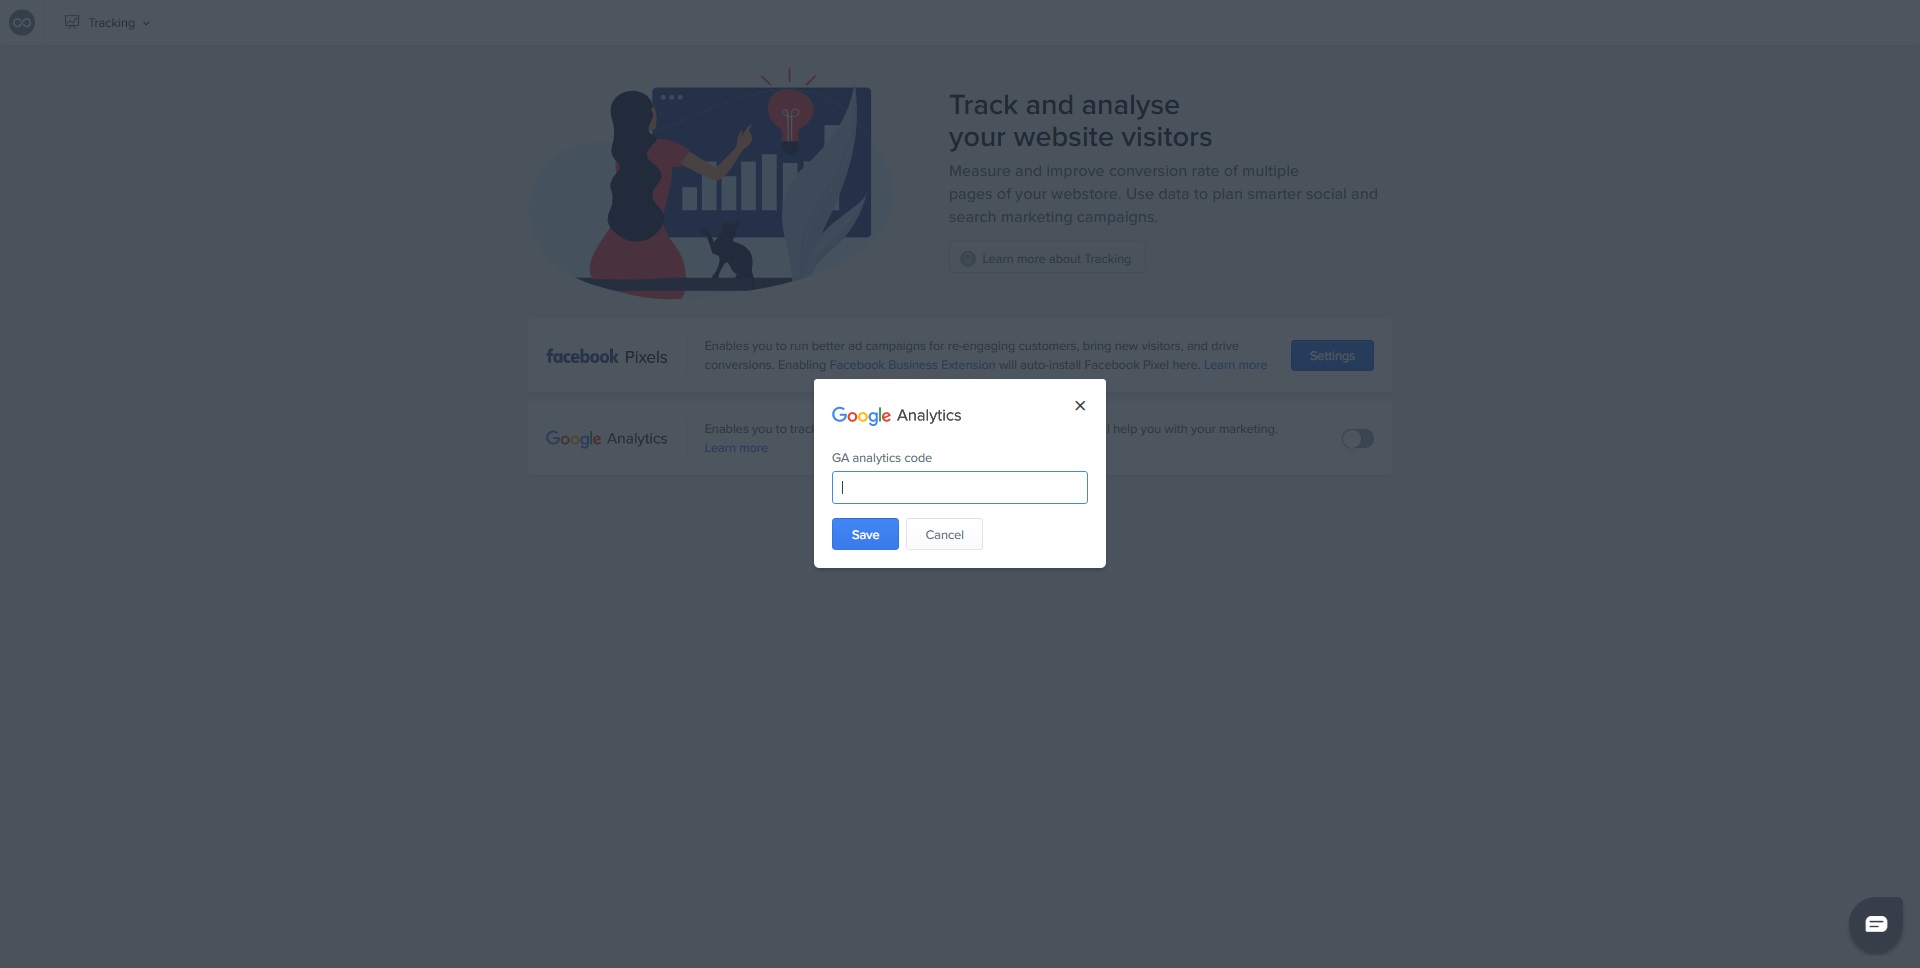
11. This window will pop open, and if you had to click on the copy icon in step 9, simply press paste (Ctrl + V for Windows, Command + V for iOS), and click on ‘Save’
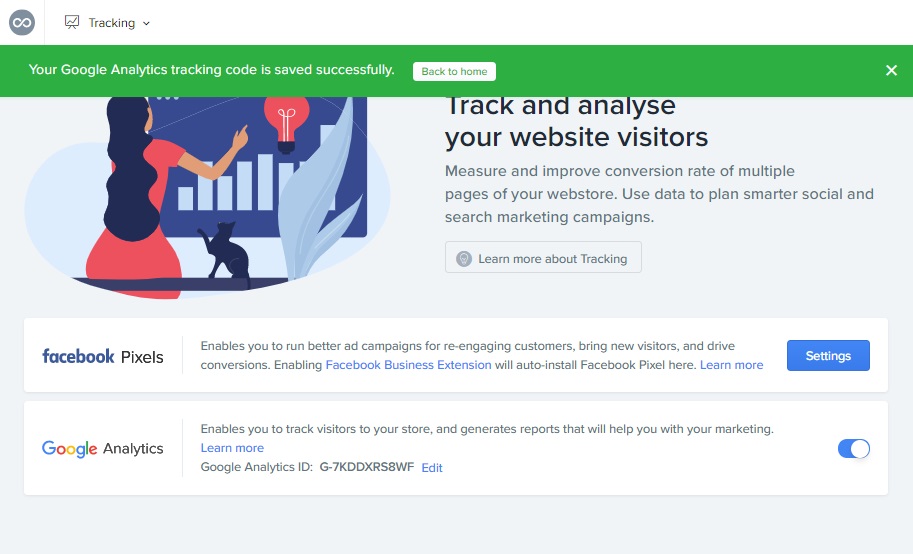
12. Done! You have successfully connected your Shopmatic account and your Google Analytics account, start sharing and advertising your website URL so that you can start recording traffic and collecting data from your customers!
Note: It may take up to 24 hours for Google Analytics to begin collecting information.