To view a video tutorial on how to use sliders, please click here.
For a step by step guide on how to use sliders, please see the steps below:
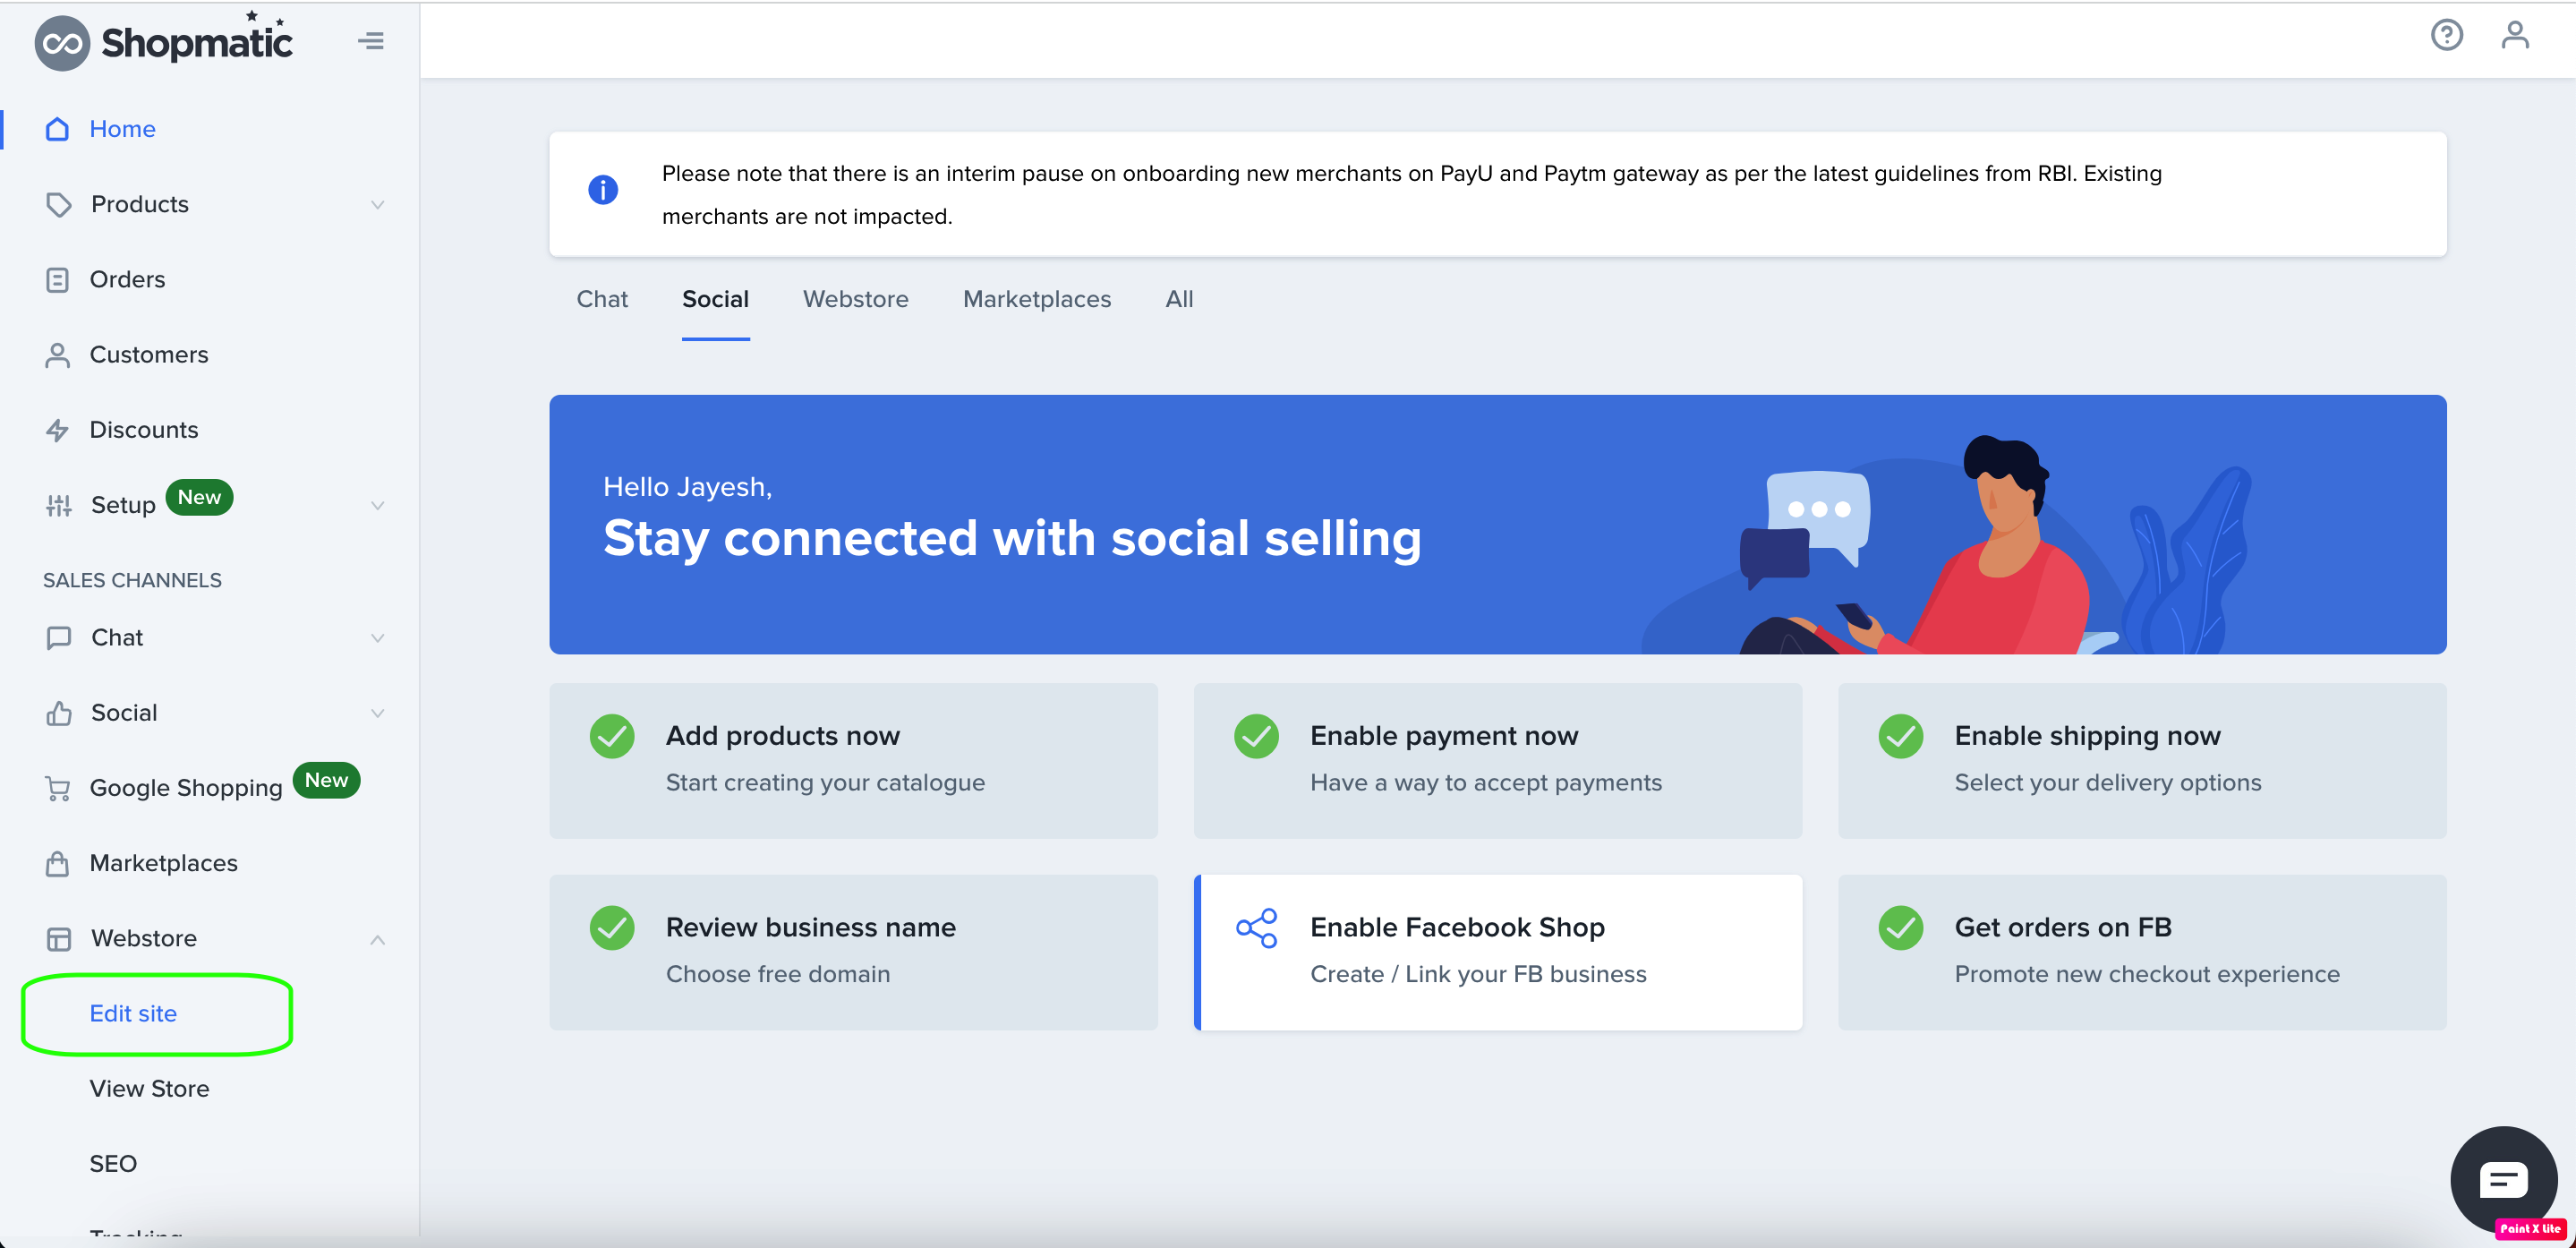
1. After logging in to your Shopmatic platform, click on the Home menu. Under Webstore, click on Edit site option.
2. From the Site builder, click on “Add a section” and the Section menu will appear, next click on “Slider”
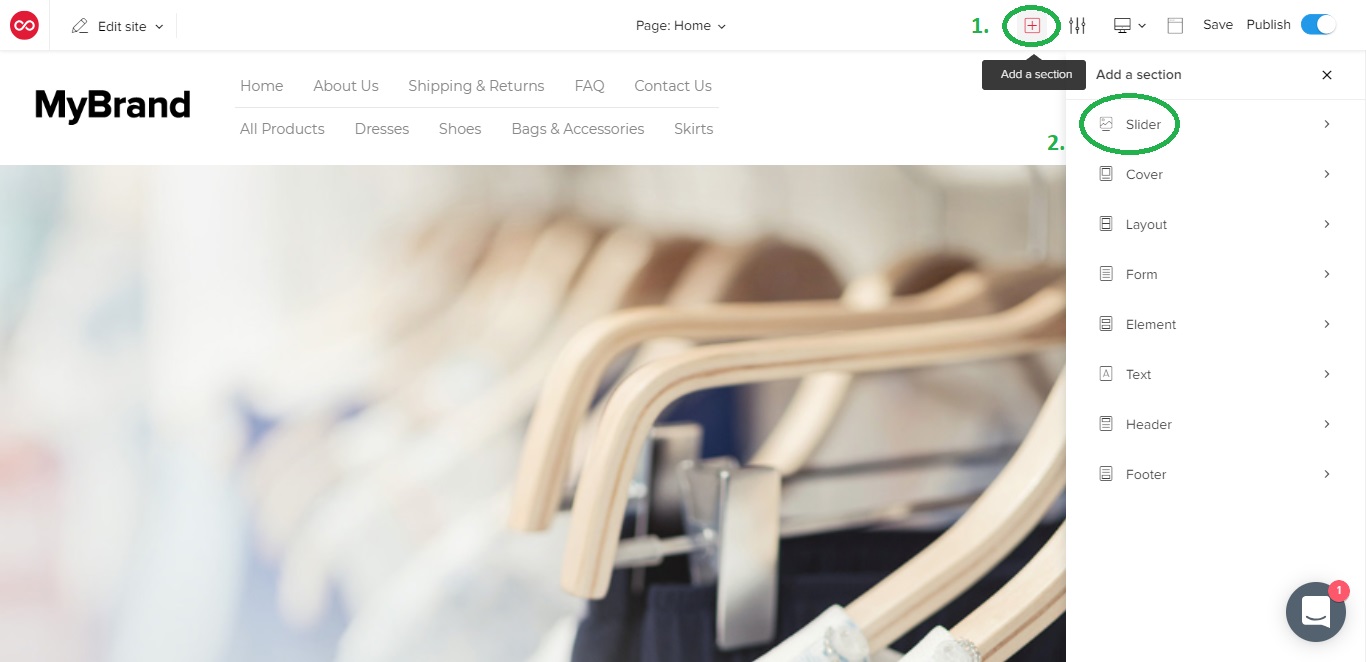
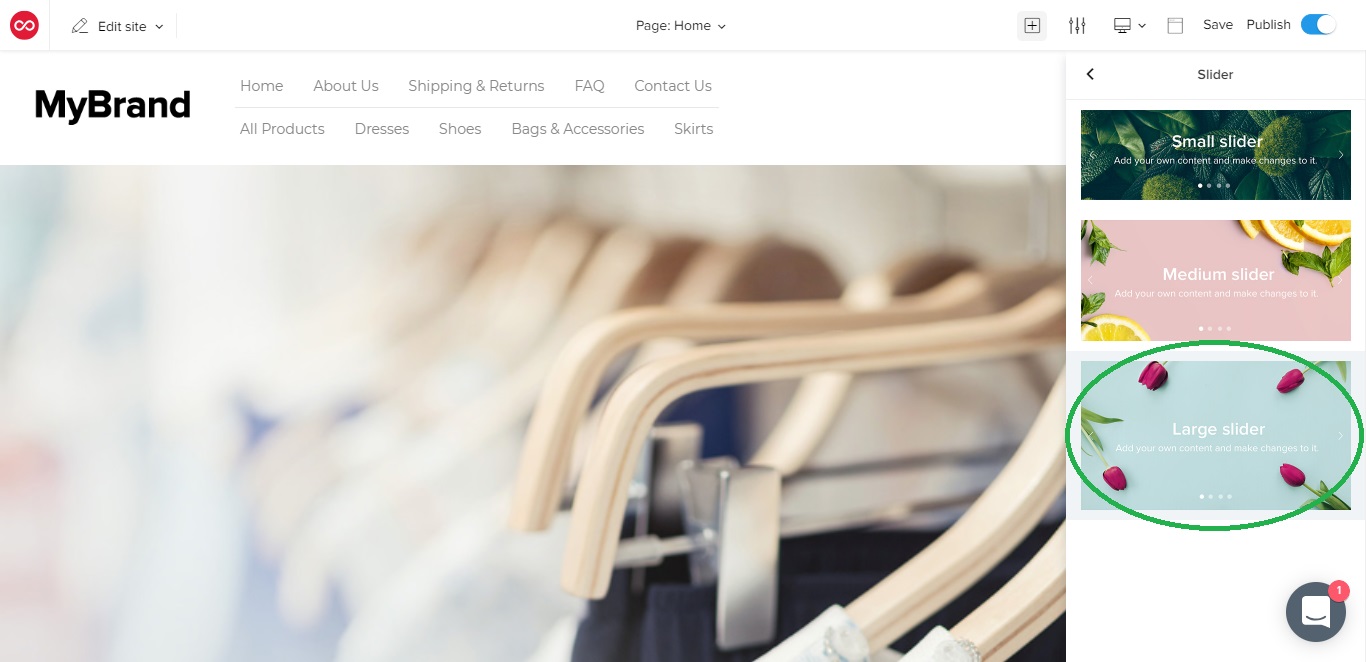
3. There are three different slider sizes to choose from, Small, Medium and Large, let’s select the Large slider for now
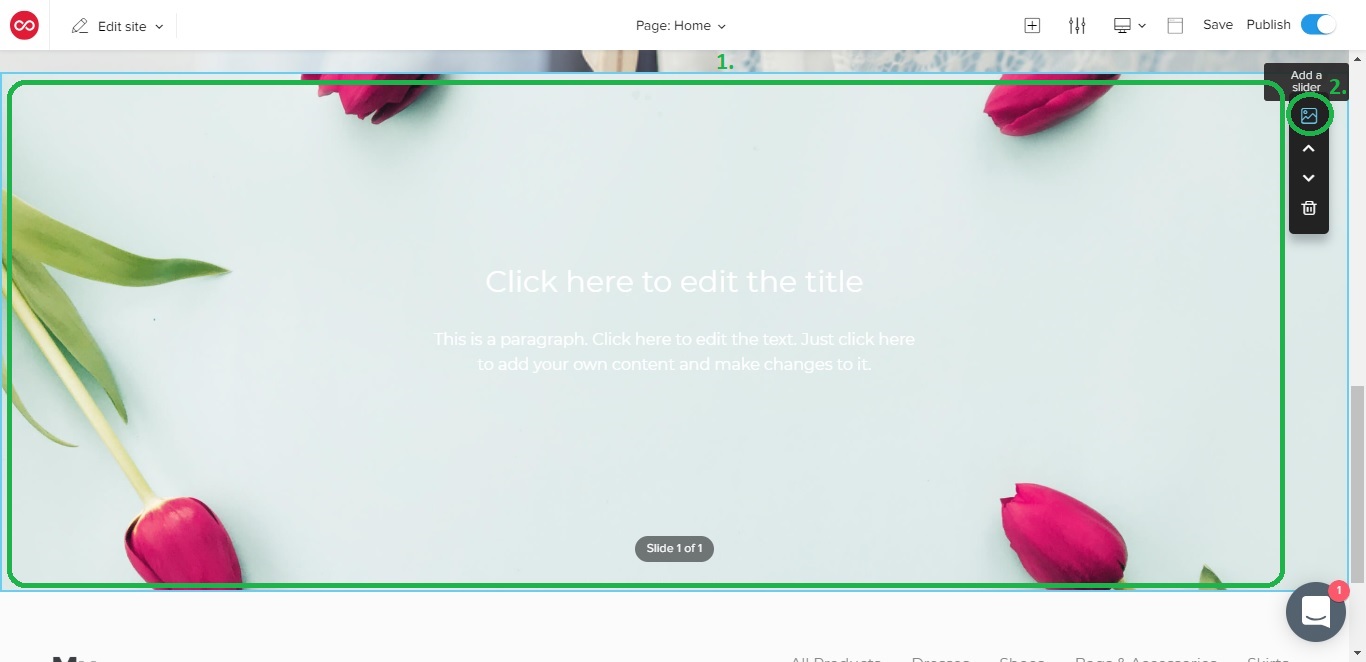
4. Once you have selected a Slider, you would need to scroll to the bottom of the page where the newest section would be added

5. On the slider section, simply click inside the slider, so that the toolbar on the right would appear, from there, click on “Add a slider”
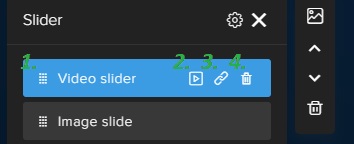
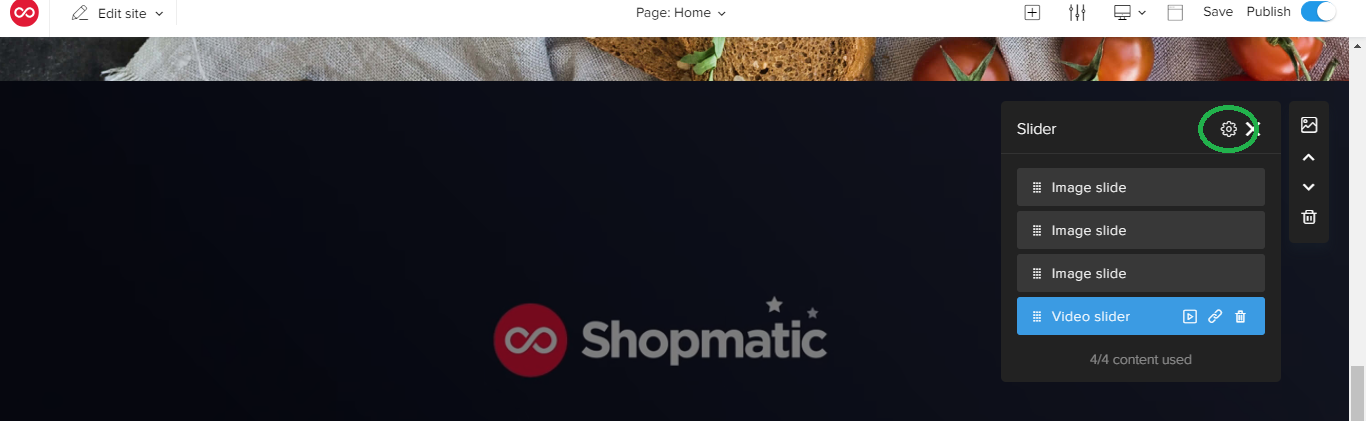
6. Up to 4 images/or 4 videos can be added to a slider section, different image/video combinations can also be used (eg. 1 image/3 videos, 2 images/2 videos, or 3 images/1 video)
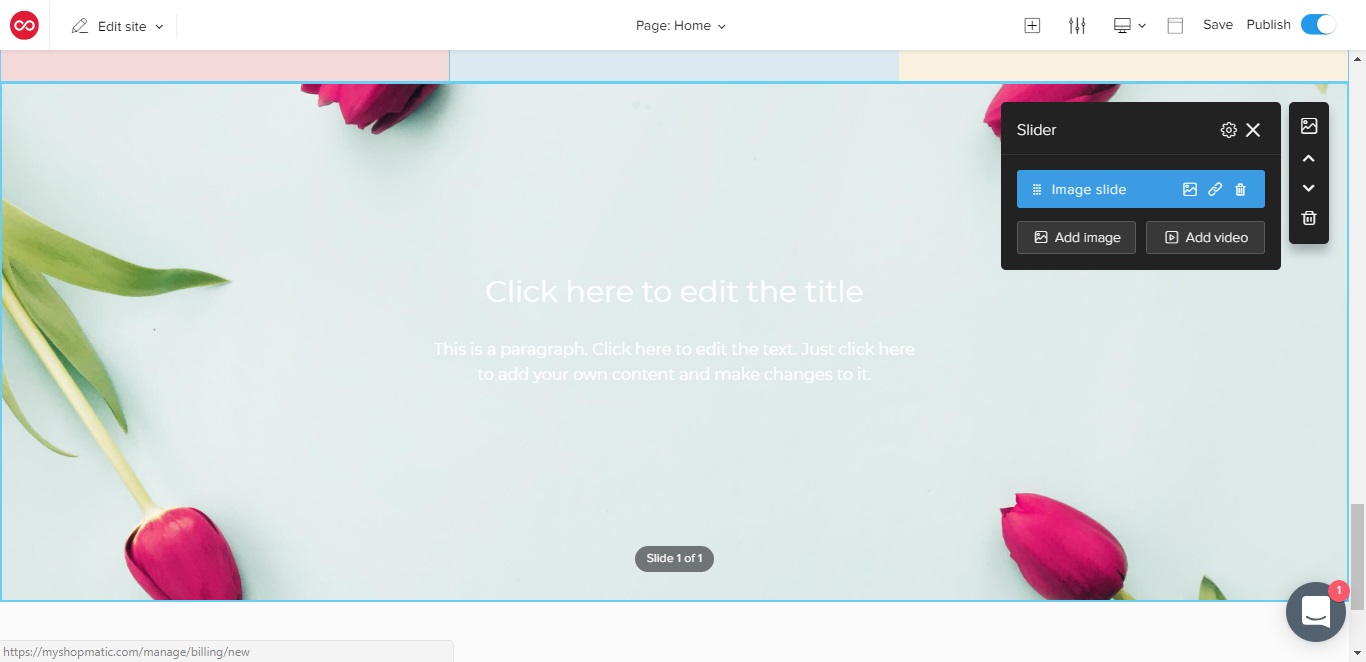
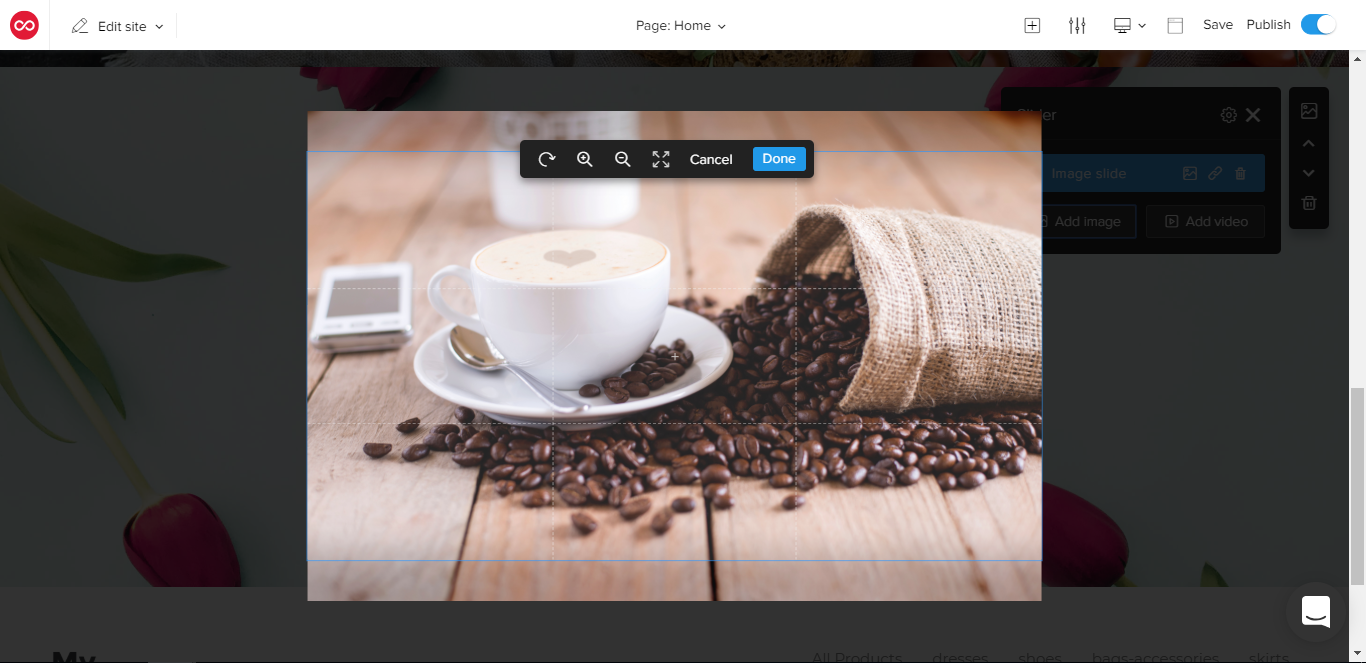
7. To upload an image, click on “Add image”, and choose an image from your device. Once selected, click on upload, and the image will enter an editable preview mode. Click on “Done” after you have completed moving or cropping the image will be uploaded to the slider
8. To upload a video, simply copy and paste any video URL link from YouTube* and click on the Save button
Please note that video files cannot be directly uploaded to the Shopmatic platform
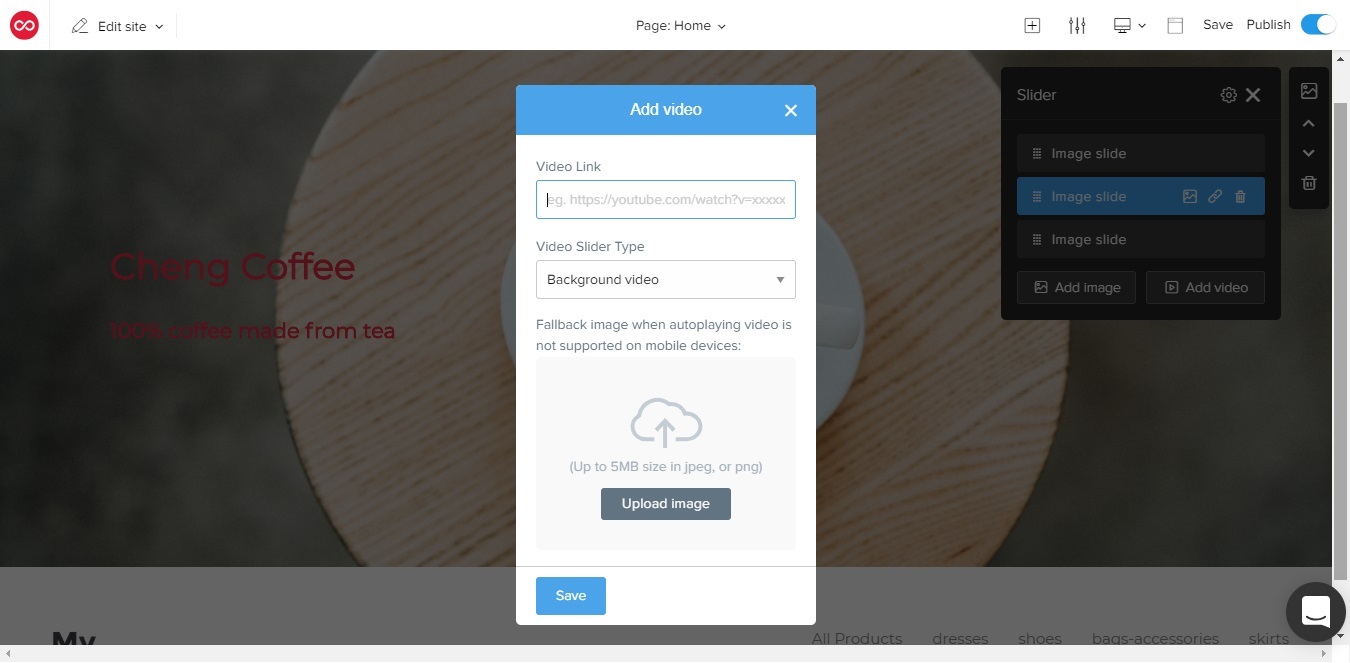
Kindly note that Background VIDEOs will not be available to your buyers who are shopping through their mobile devices. That is why you would need to upload a “Fallback” image so that the buyers do not see a blank screen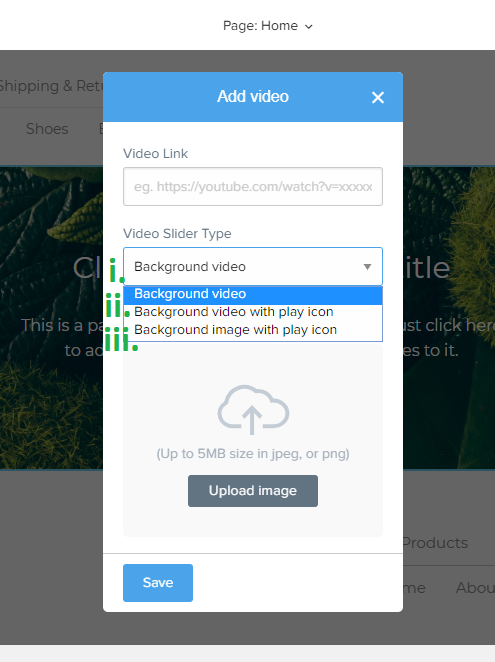
i) Background VIDEO:
Video auto-plays on its own
ii) Background VIDEO with Play icon:
Video auto-plays on its own and viewers can click on the Play icon to launch the video in the YouTube lightbox*
A static image is displayed however viewers can click on the Play icon to launch the video in the YouTube lightbox*
*Mobile viewers who click on the Play icon, will load the video on a new tab on YouTube
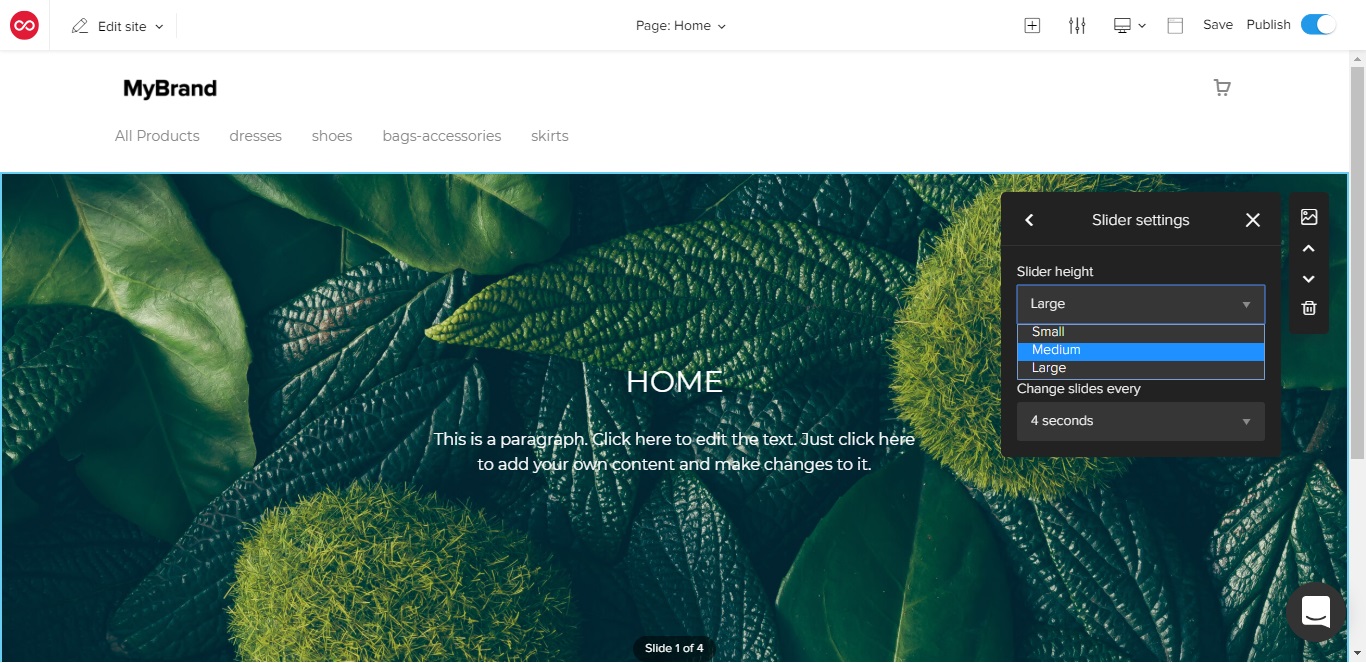
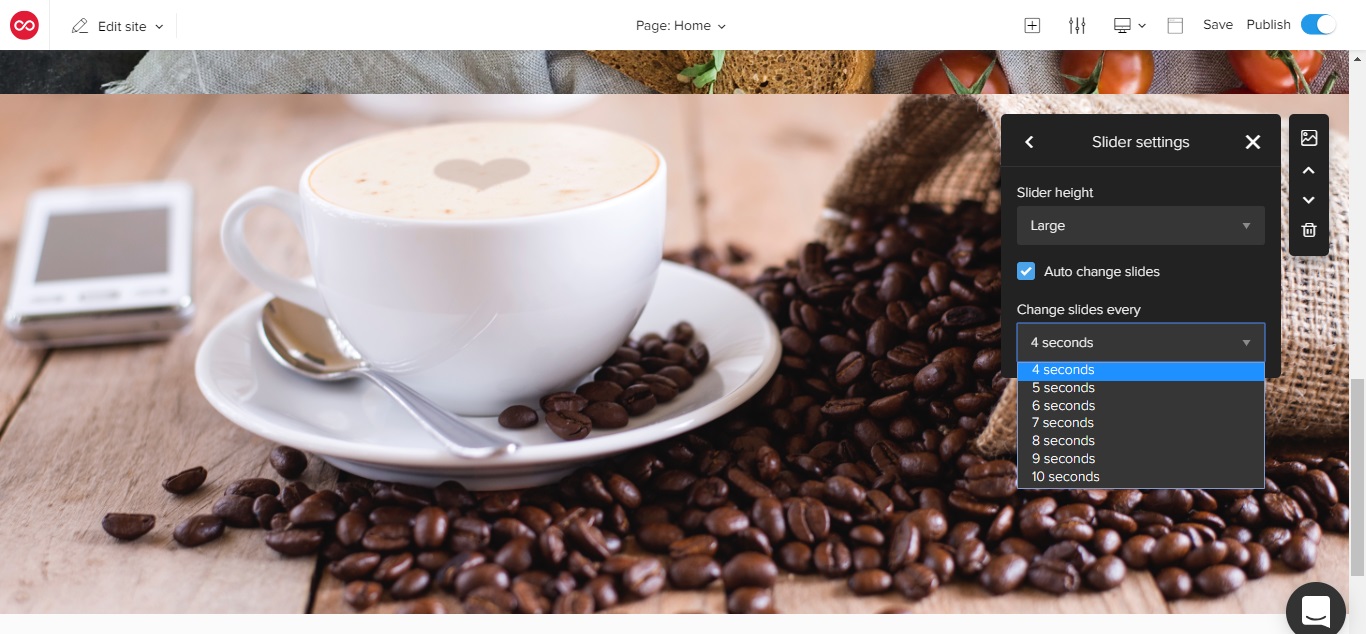
9. Slider settings:
By clicking on the gear icon, you will further access to more Slider settings
i. Size: Size of the slider can be manually changed again to either Small, Medium or Large