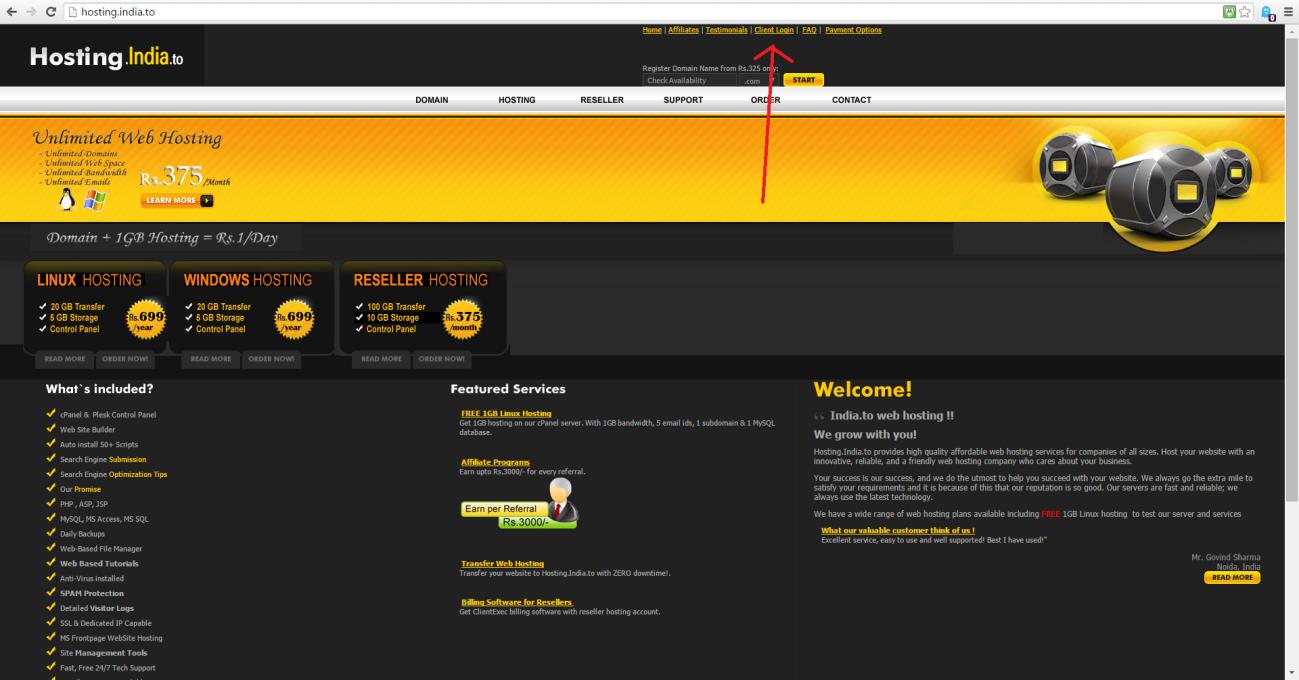
1. Go to www.hosting.india.to and click ‘Client Login’
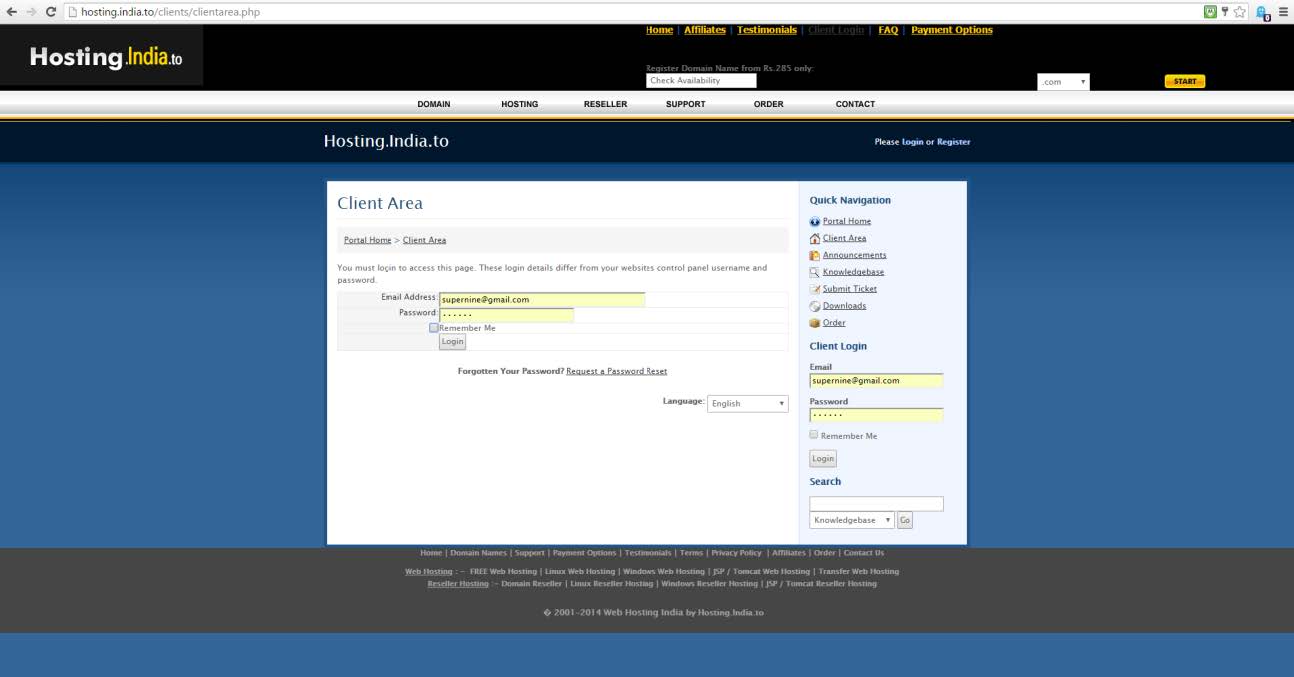
2. Login to your account
3. Click ‘My Support’
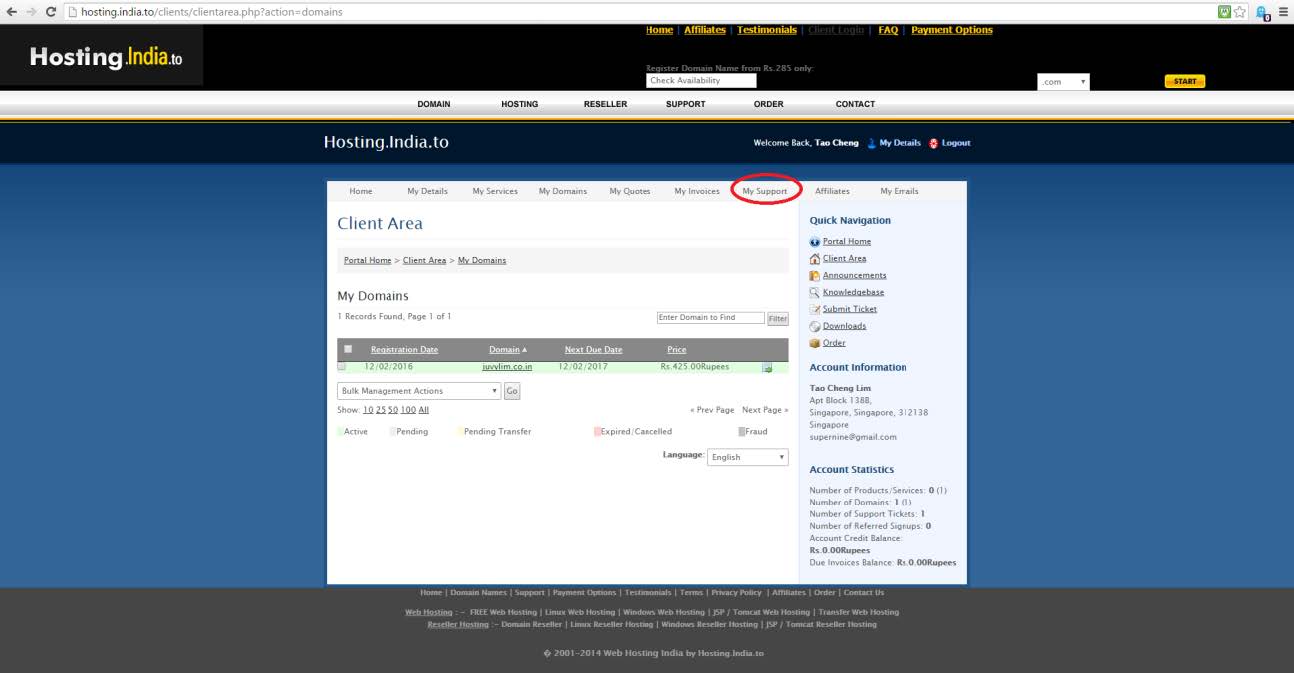
4. Hosting India does not allow users to manually change the DNS. Please submit a ticket to the support team to make the DNS change.
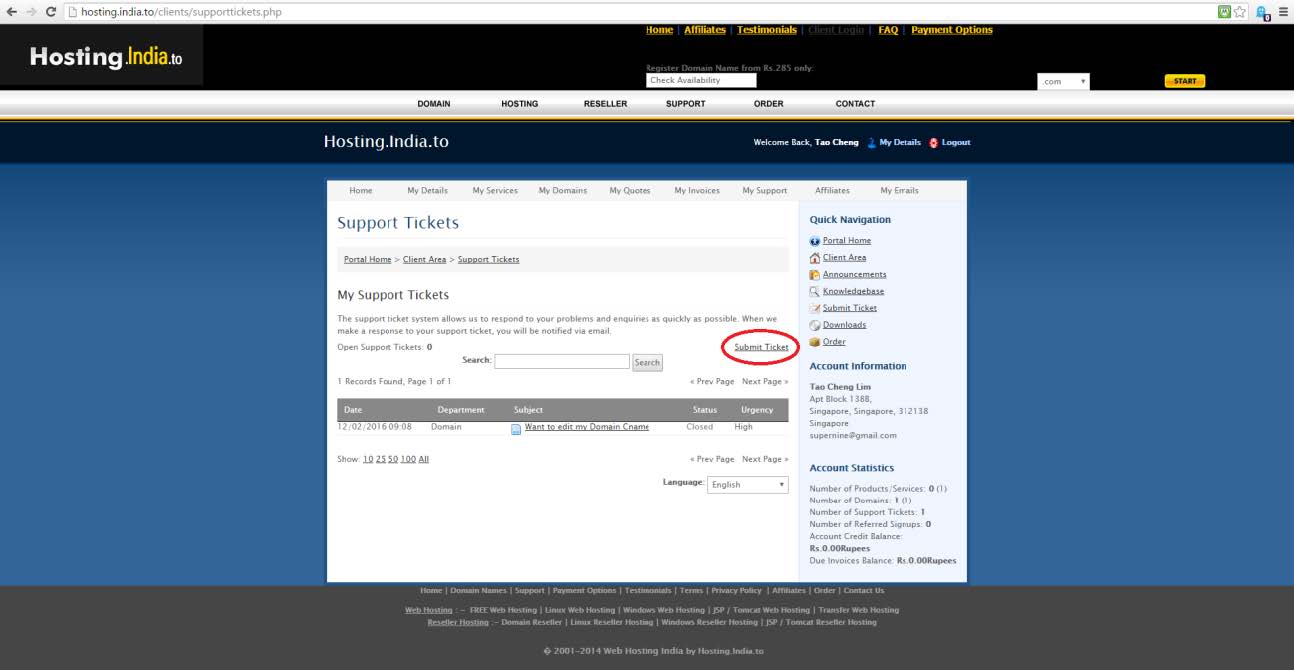
5. Click ‘Domain’
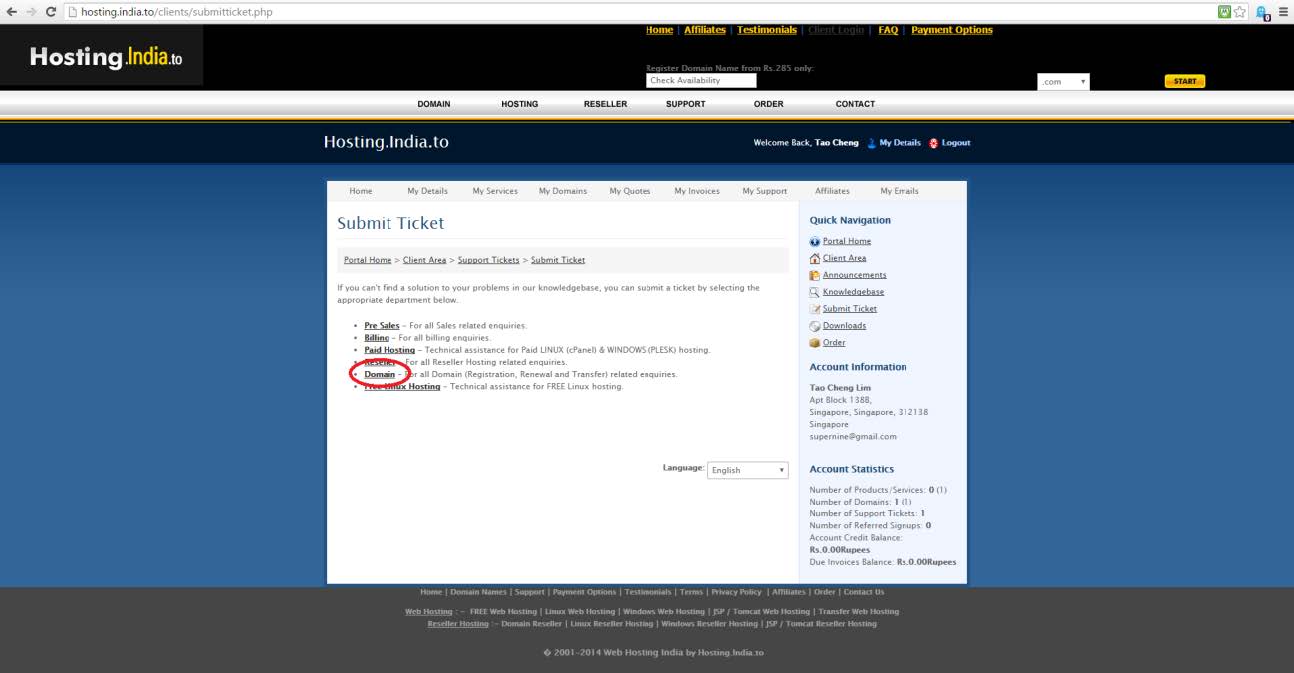
6. Return to Shopmatic platform and input your custom domain name. Copy your CName as per highlighted in red below.
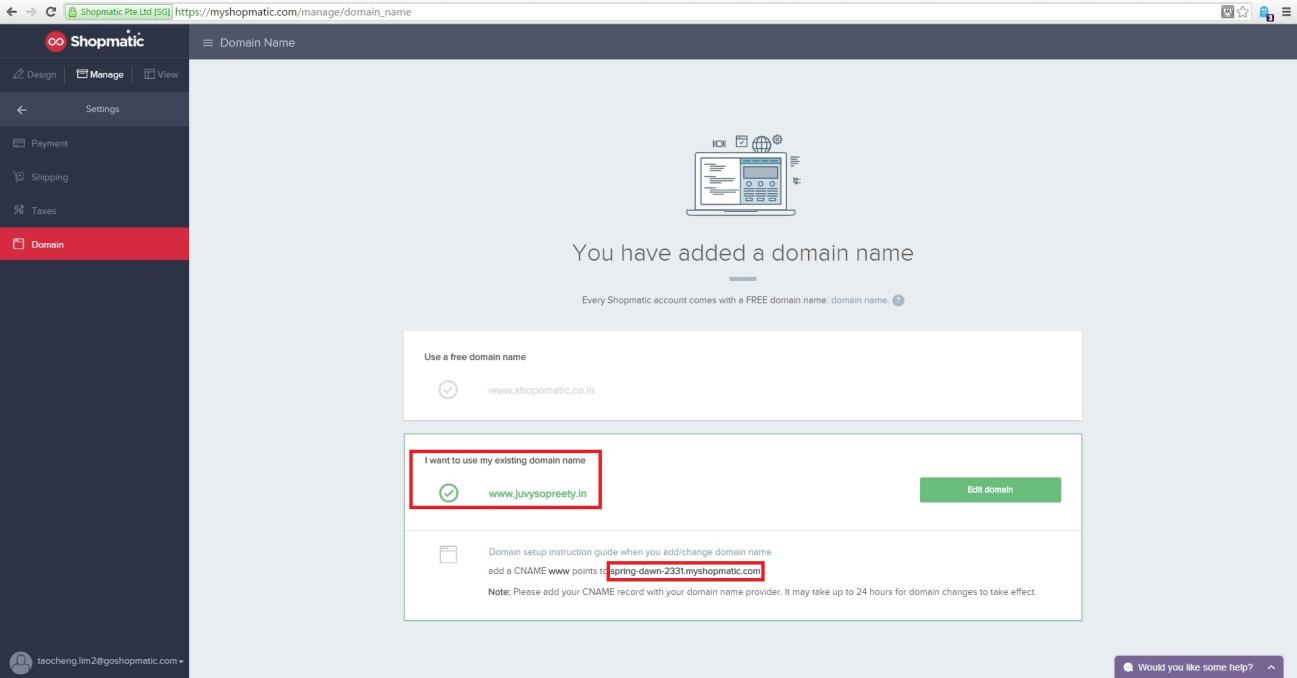
7. Go to HostingIndia page and fill up the form and click ‘Submit’.
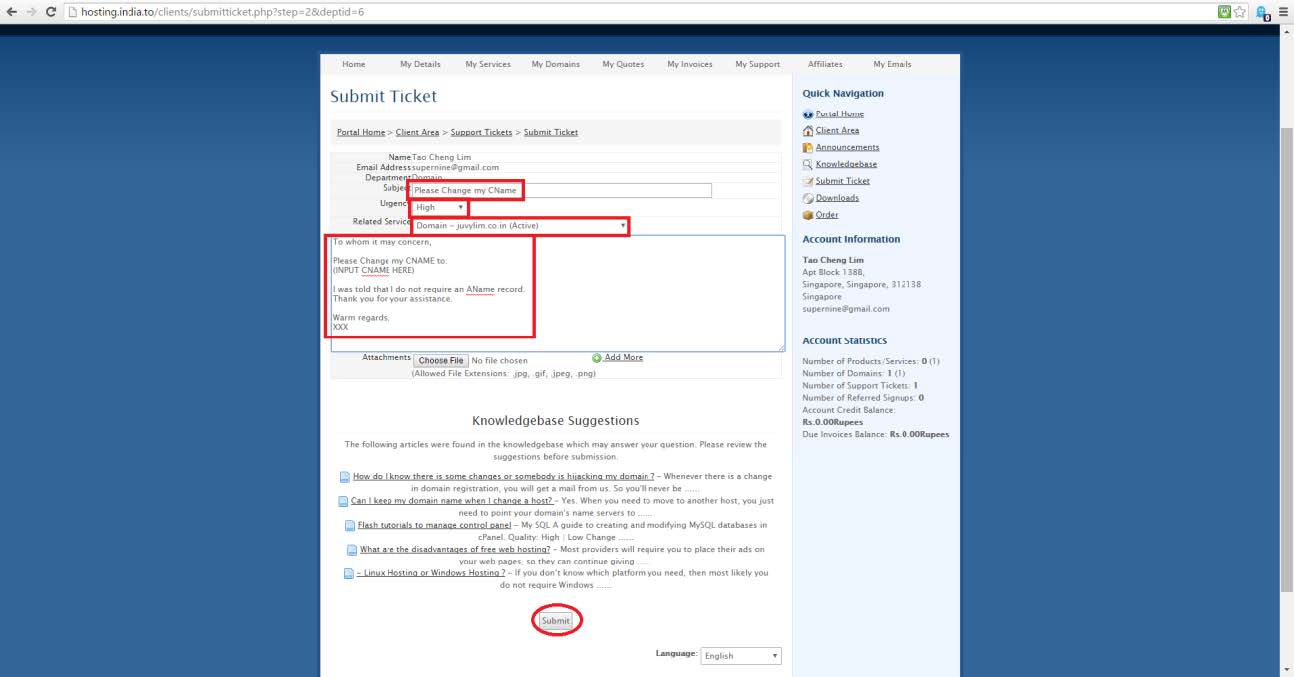
8. Wait for the representative to respond to the ticket.